
5 Tips for Creating Amazing Product Pictures | Lighting & Settings EXPLAINED!
Ready to level up your product photography? Whether you're shooting for social media or e-commerce, mastering lighting for product photography and understanding the right camera settings are key to capturing scroll-stopping shots. Let’s break down the essentials for creating stunning images step-by-step.
1. Master Your Camera Settings: ISO, Shutter Speed, and Aperture
Balancing your camera settings for product photography is crucial for achieving professional results. Here's a quick breakdown:
ISO: Keep it low (100-300) to avoid introducing noise or grain.
Shutter Speed: Use a slower shutter speed for static products, especially in low light, but only with a tripod for stability.
Aperture (F-Stop): For a sharp focus on your product with a blurred background (bokeh), use a low aperture (f/2.8). For more detail across the product, opt for a higher aperture (f/8 or higher).
2. Create Depth by Separating Your Subject from the Background

Before
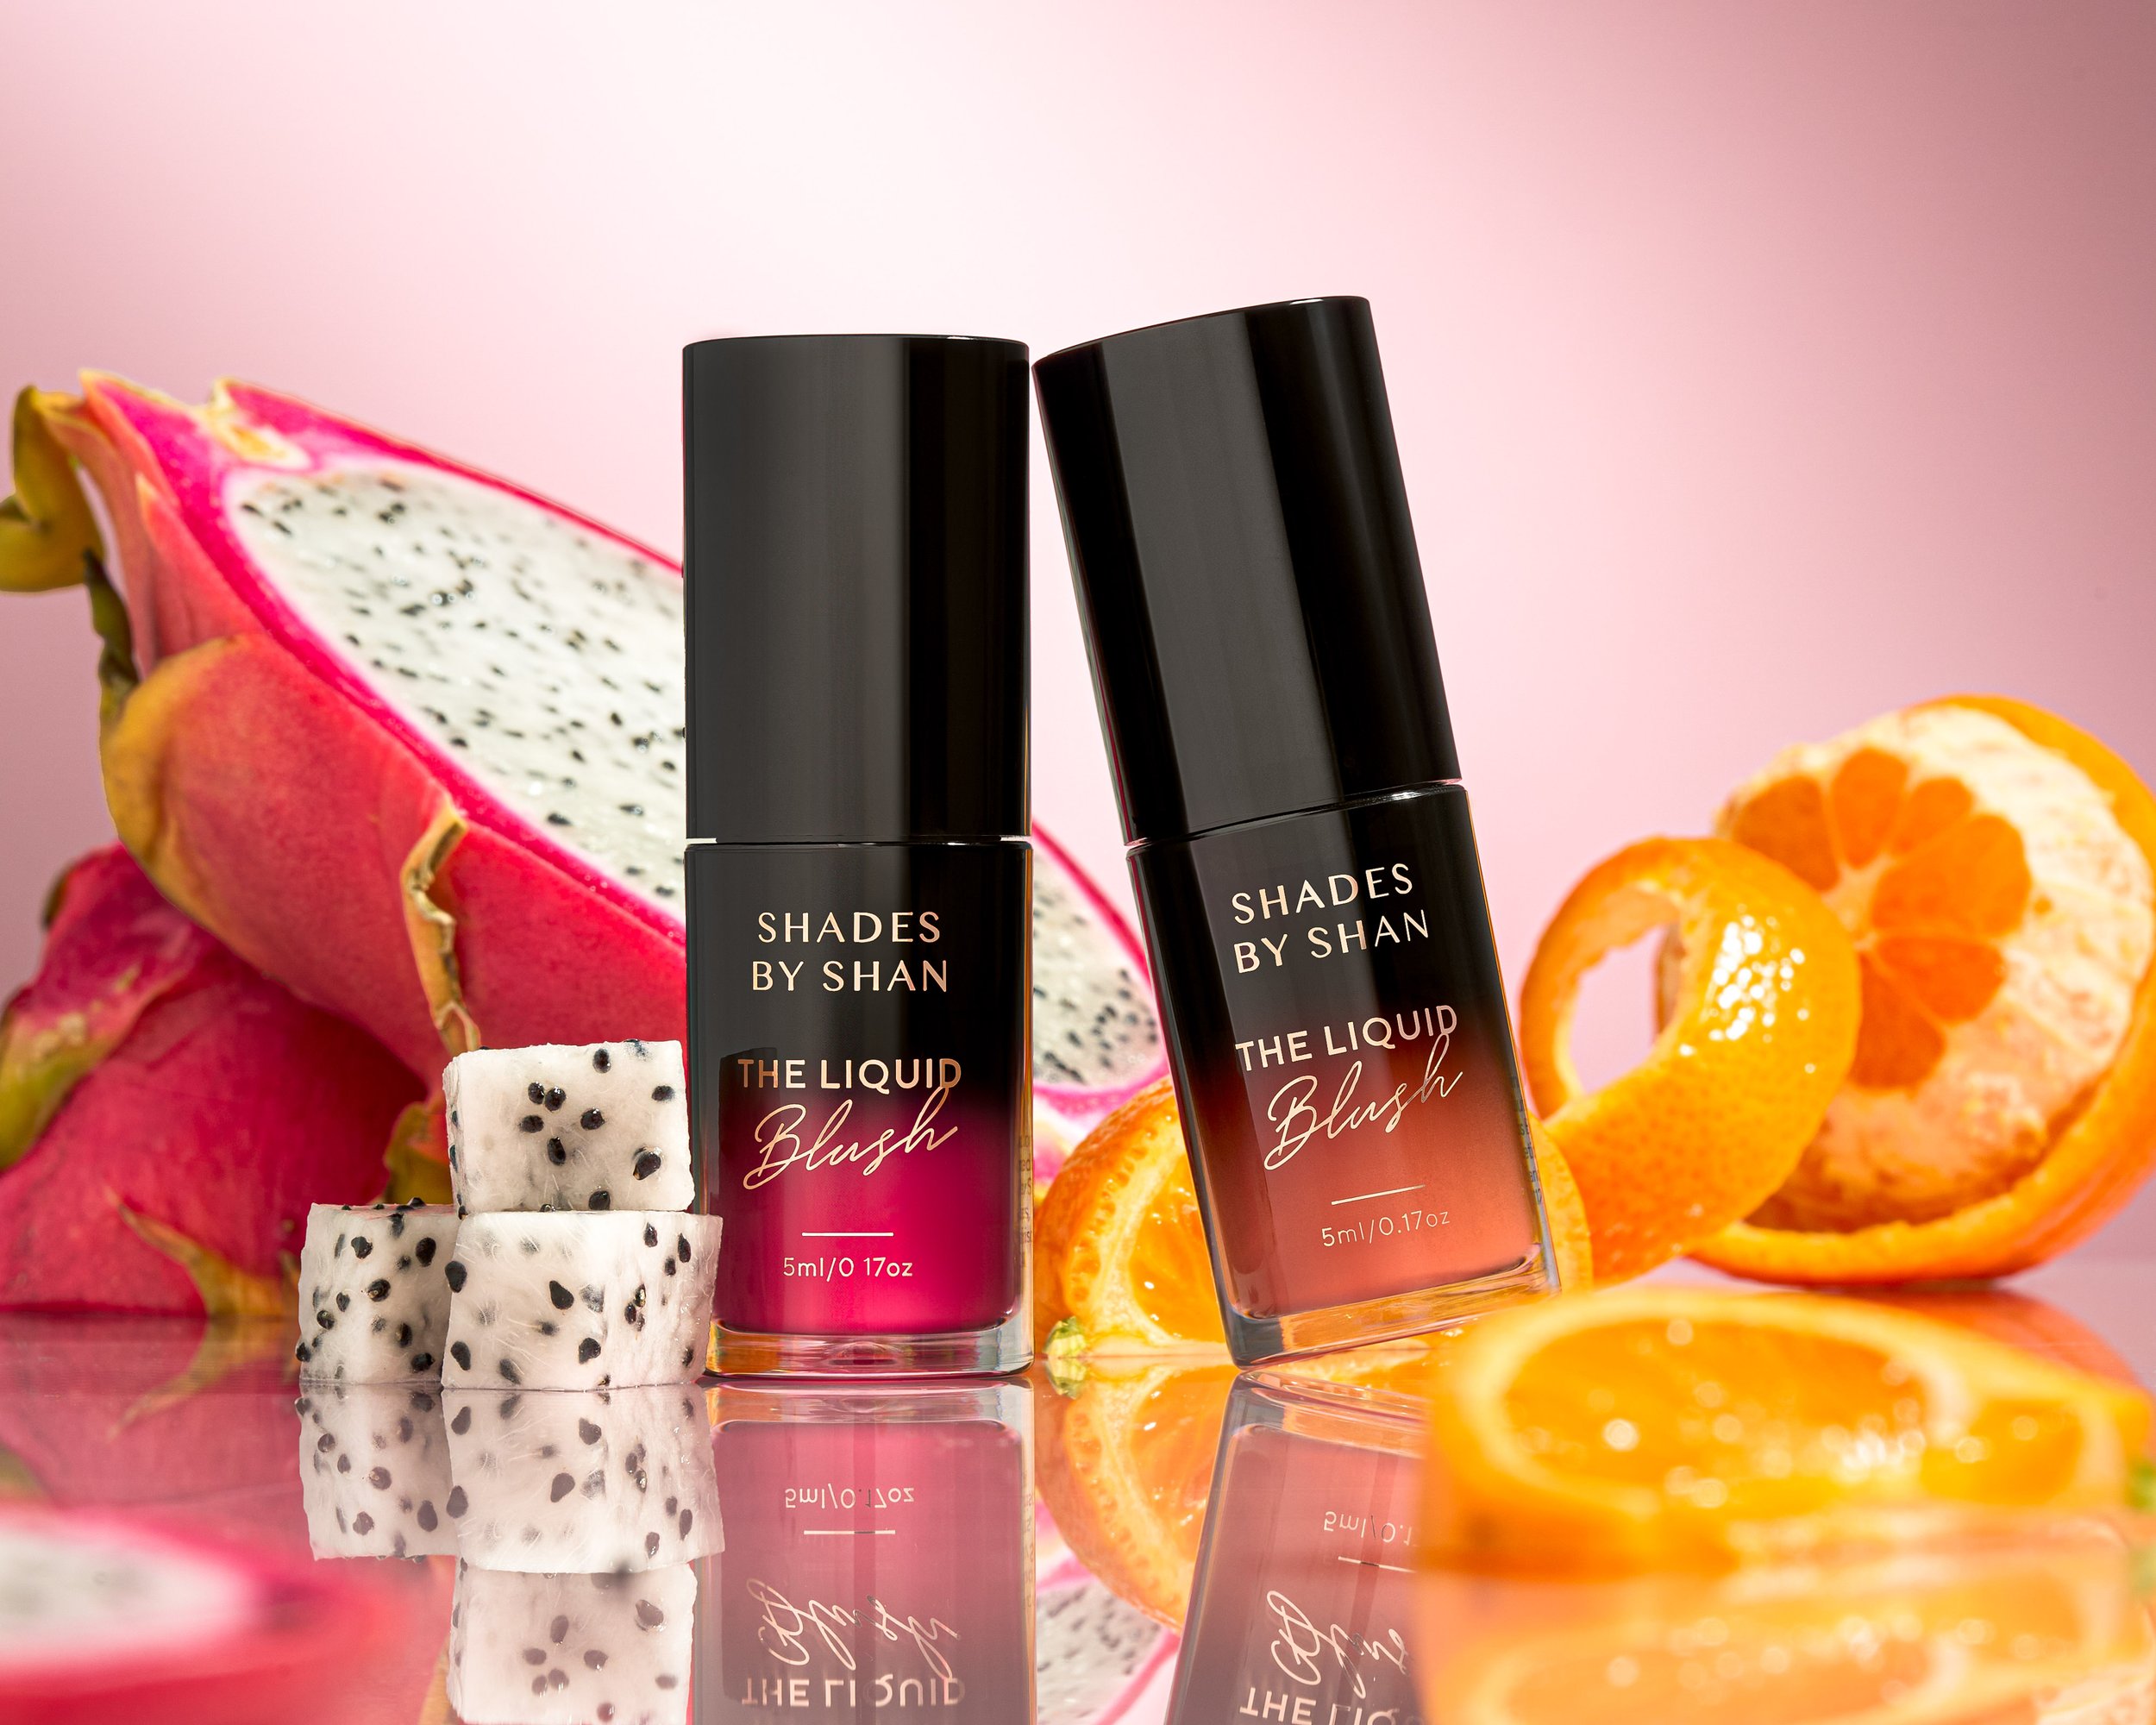
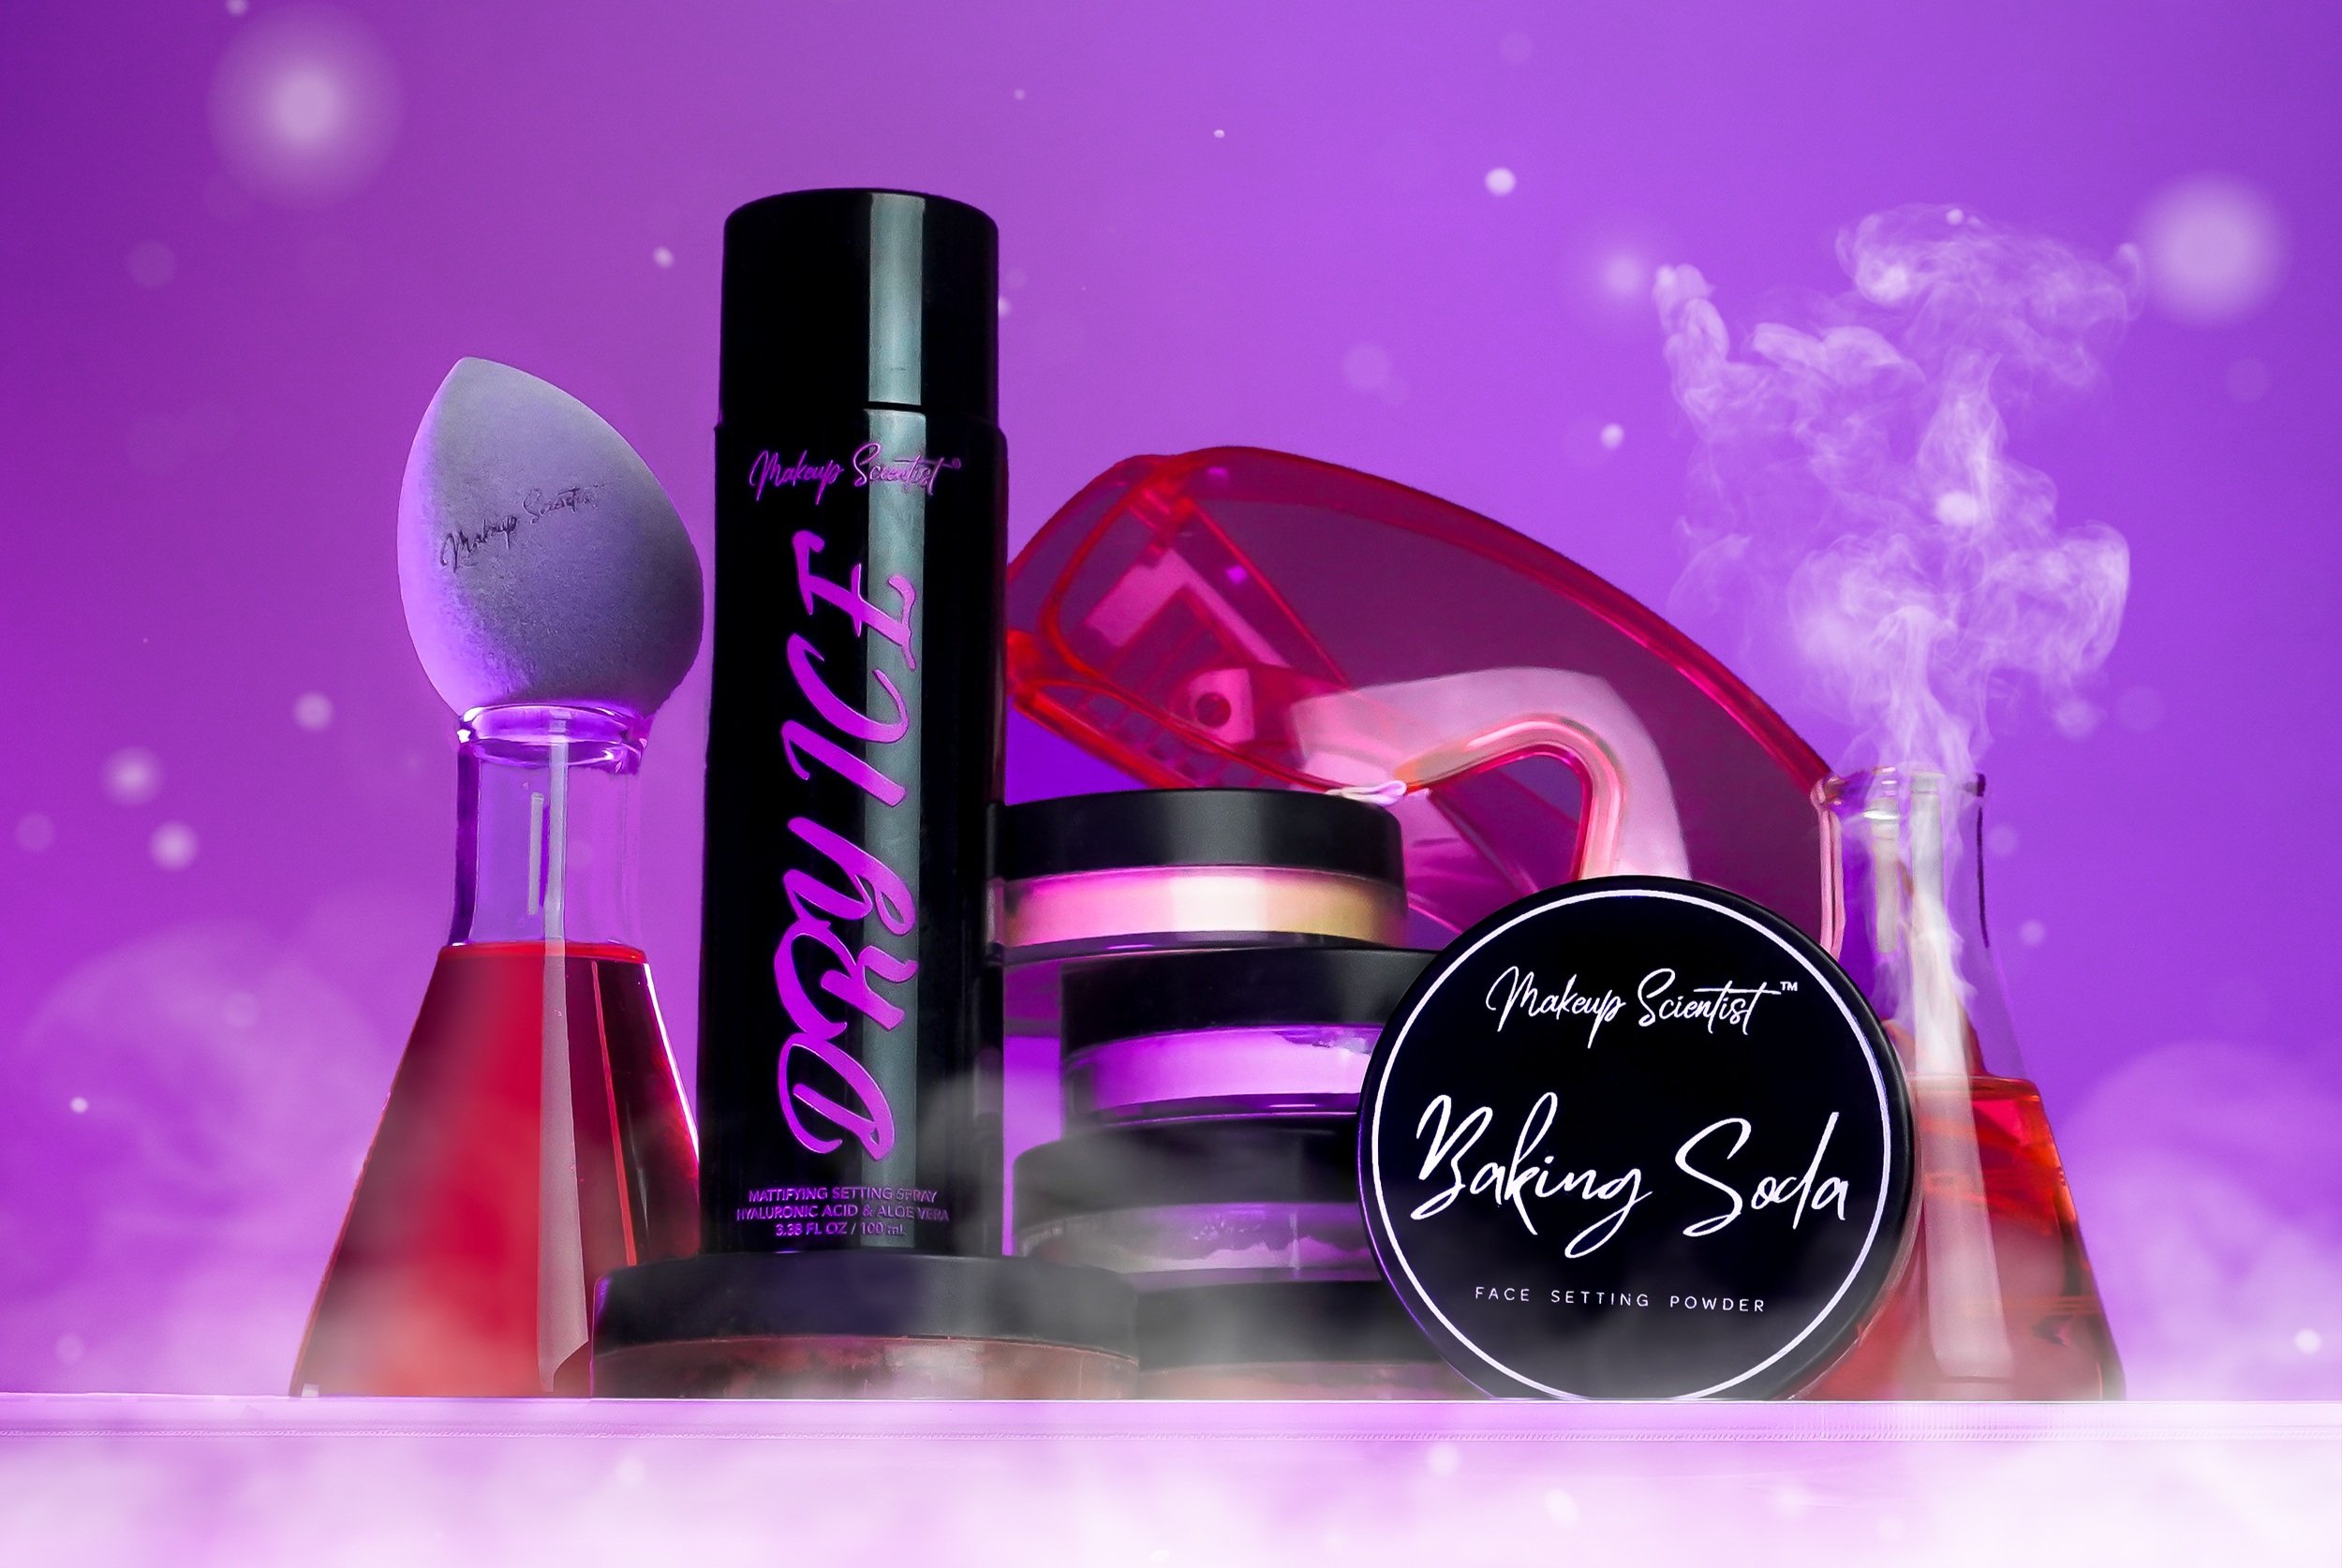
One of the simplest ways to make your studio photos stand out is to create depth. When photographing the skincare bottle above, you’ll notice the first image looks a little flat. This is because the bottle is placed too close to the backdrop.
After
Instead, pull the product forward, away from the background to allow light to pass behind the subject. This allows you to better highlight its edges which adds more depth, resulting in a crisp, high-end product photo.
3. Light From the Side to Add Drama
Lighting can dramatically impact the look of your product photos, sometimes even more than the camera itself. Many beginners make the mistake of shining light directly onto the product, which can make it look flat, washing out important details. Instead, try side lighting for product photography.

Place your light source at an angle to the product—either from the side or slightly behind.
This technique creates contrast between light and shadow, adding depth and texture, which helps your product stand out. The shadows sculpt the shape, while the highlights bring out the textures, giving your photo a more dynamic and professional look.
You can adjust the light's intensity and position to change how much drama you want in the shot. For example, soft side lighting will create subtle shadows, while stronger light adds bold contrast for a striking effect.

Best Continuous Lights for Product Photography Under $300

4. Stabilize with a Tripod for Sharp Focus
While handheld shooting offers flexibility, it often results in unwanted blur, especially in low-light conditions. Using a tripod ensures stability, allowing you to use slower shutter speeds for product photography without losing sharpness. This is crucial when capturing fine details in product shots, as clear, sharp images are essential.
Pro Tip: always use manual focus when working with a tripod. This gives you full control, ensuring that your product is in perfect focus.

5. Use Reflectors to Balance Shadows and Light
Reflectors in studio product photography are essential for controlling light and achieving a balanced, professional look. Whether you're using a professional reflector or a DIY solution like a white foam board, these tools help redirect light onto your product, softening harsh shadows and illuminating your subject from multiple angles. This technique enhances your product's appearance by creating a well-lit image with natural depth and clarity, perfect for e-commerce product photos or high-detail shots.

Free Workshop
Learn how to style, light, & edit eye-catching images!
FAQs
1. How can I reduce glare in product photos?
To reduce glare, use diffused light sources and position them at an angle. Reflectors and polarizing filters can also help manage reflections on shiny surfaces.
2. What are the best camera settings for product photography?
Use a low ISO (100-300) for clear images, a slow shutter speed if using a tripod, and a low aperture (f/2.8-f/5.6) to blur the background while keeping the product sharp.
3. Do I need a tripod for product photography?
A tripod helps prevent blur and allows for longer exposure in low light, ensuring sharp, professional images.
More Articles
Discover the 8 best blocks for product photography and where to buy them! Whether you need acrylic or concrete blocks, these must-have props will elevate your product shots, add depth, and create stunning compositions. Learn how to use them effectively and take your photography to the next level. Plus, grab our Shot List Template to streamline your shoots!