
5 Tools For Creating Perfect Product Textures (Under $10)
When it comes to showcasing beauty and skincare products, texture plays a huge role in making your visuals stand out. Whether you're working with a rich cream, glossy serum, or vibrant makeup, capturing the right texture can help consumers feel the product's essence before they even try it. To elevate your product photography game, here are five essential tips for creating captivating product textures that will leave your clients—and their audience—impressed.

1. Use Palette Knives for Swatches & Smears
Palette knives are a must-have tool for product photographers. They allow you to create smooth swatches, satisfying smears, and layered textures with ease. The precision a palette knife offers makes it perfect for shaping and controlling product placement, ensuring a clean, professional look. Whether you’re working with thick creams, oils, or gels, a well-placed swipe can show off the product’s texture in a way that feels both artistic and practical.

2. Create Texture Swirls with Silicone Nail Tools
Want to nail that perfect swirl inside a jar of body butter or cream? Silicone tools are perfect for achieving precision without disrupting the product’s natural consistency. These tools allow you to sculpt intricate, smooth swirls that not only highlight the product’s texture but also add an extra layer of visual interest.
Think of whipped creams, balms, or mousse-like textures—you can shape them to look as luxurious as they feel. Silicone tools are perfect for achieving precision without disrupting the product’s natural consistency.
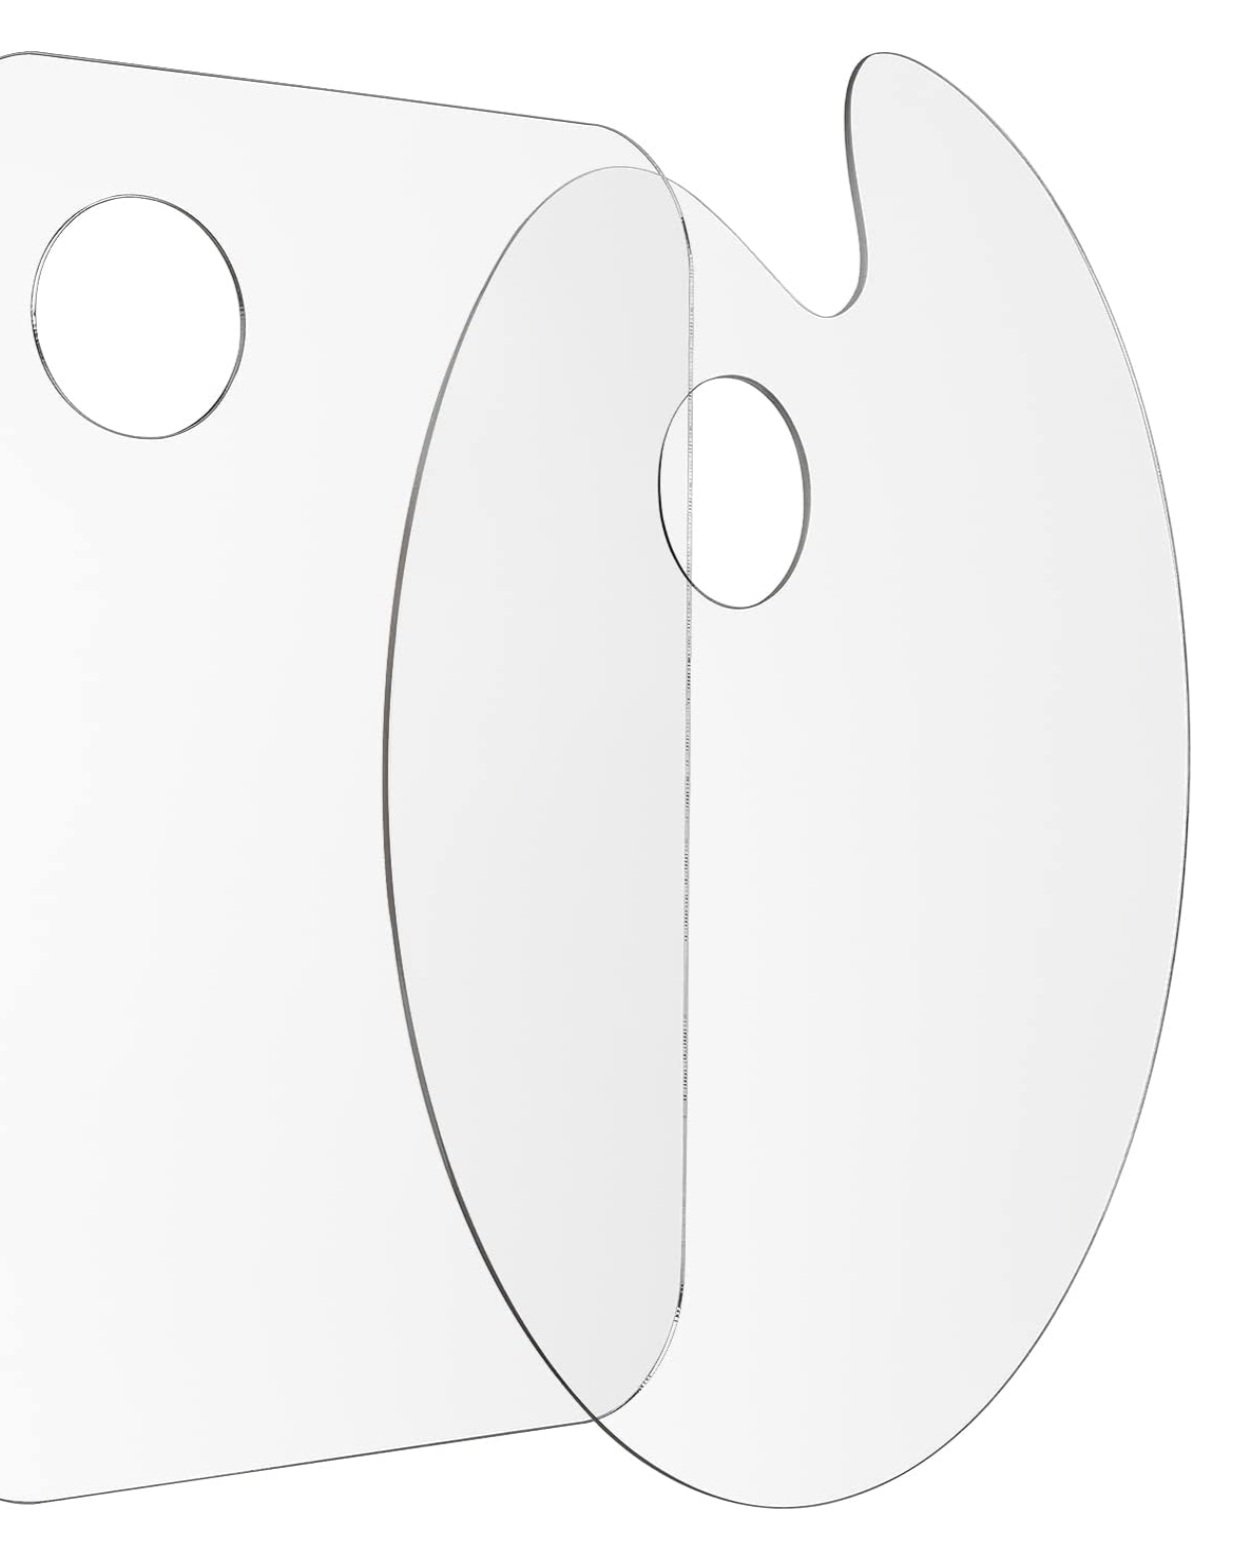
3. Mix Textures on an Acrylic Paint Palette
If you’re shooting makeup products like lipsticks or eyeshadows, using an acrylic paint palette is a game-changer. Designed for artists, these palettes are ideal for mixing and crushing makeup products directly on the surface. The best part? They come with a thumb hole, letting you move around with your swatches while styling the rest of the scene.
It’s practical and keeps your work area organized!

4. Spray Mist for Extra Dimension
A little mist can go a long way in adding dimension to your product shots. Spraying a gentle mist mixed with 50% water and 50% glycerin creates a perfect dewy shot. This technique works wonders for highlighting serums, oils, or sprays.
It creates a tactile, sensory appeal that helps viewers imagine how the product will feel on their skin. Plus, that slight shimmer of moisture can take an ordinary shot and make it pop with life.

5. Use an Acrylic Sheet for Soft Reflections
For a sleek, high-end feel, place your product textures on a clear acrylic sheet. The sheet provides soft reflections that elevate the entire scene, giving your shot a luxurious and polished look.
This technique works especially well for creams, lotions, and serums, where the texture’s richness is amplified by the soft glow of its reflection. The result? A photo that feels elegant and refined, perfect for showcasing premium products.
More Articles


Looking for lifestyle product photography for your skincare brand? Discover how professional visuals can boost your brand's sales, trust, and engagement—plus expert tips to plan your next shoot like a pro.