How to Photograph Transparent Objects in Product Photography
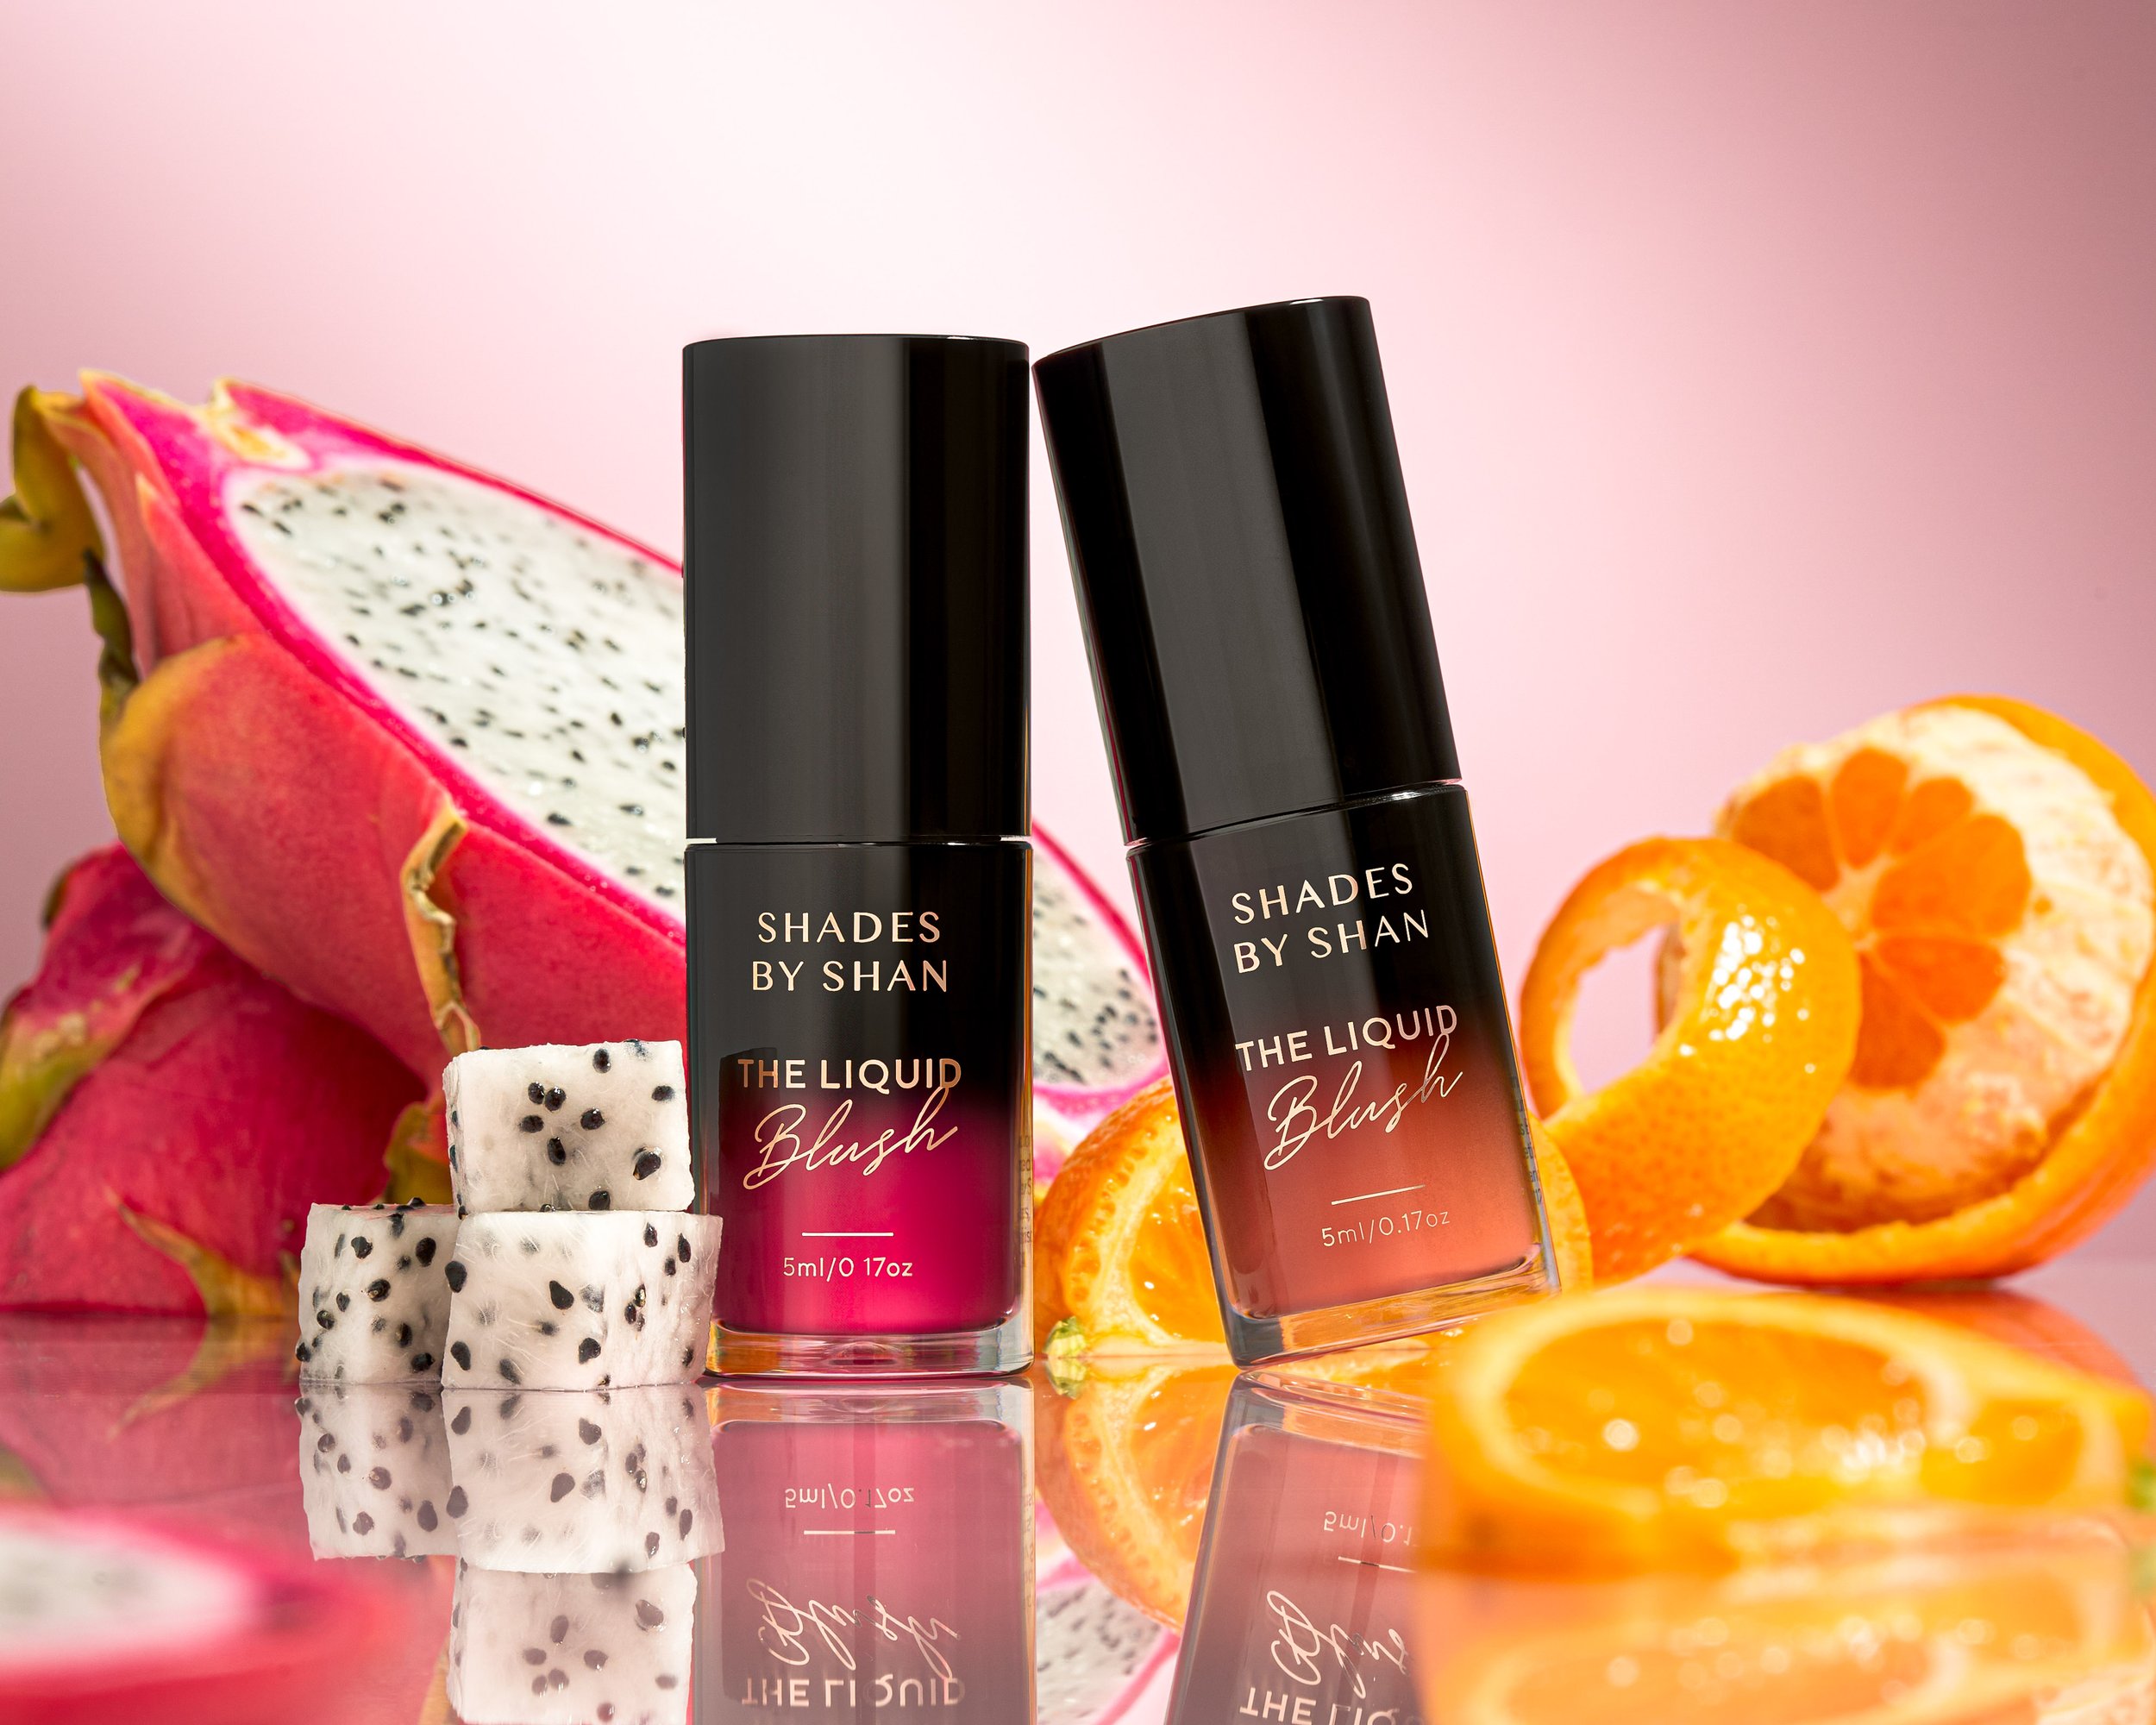
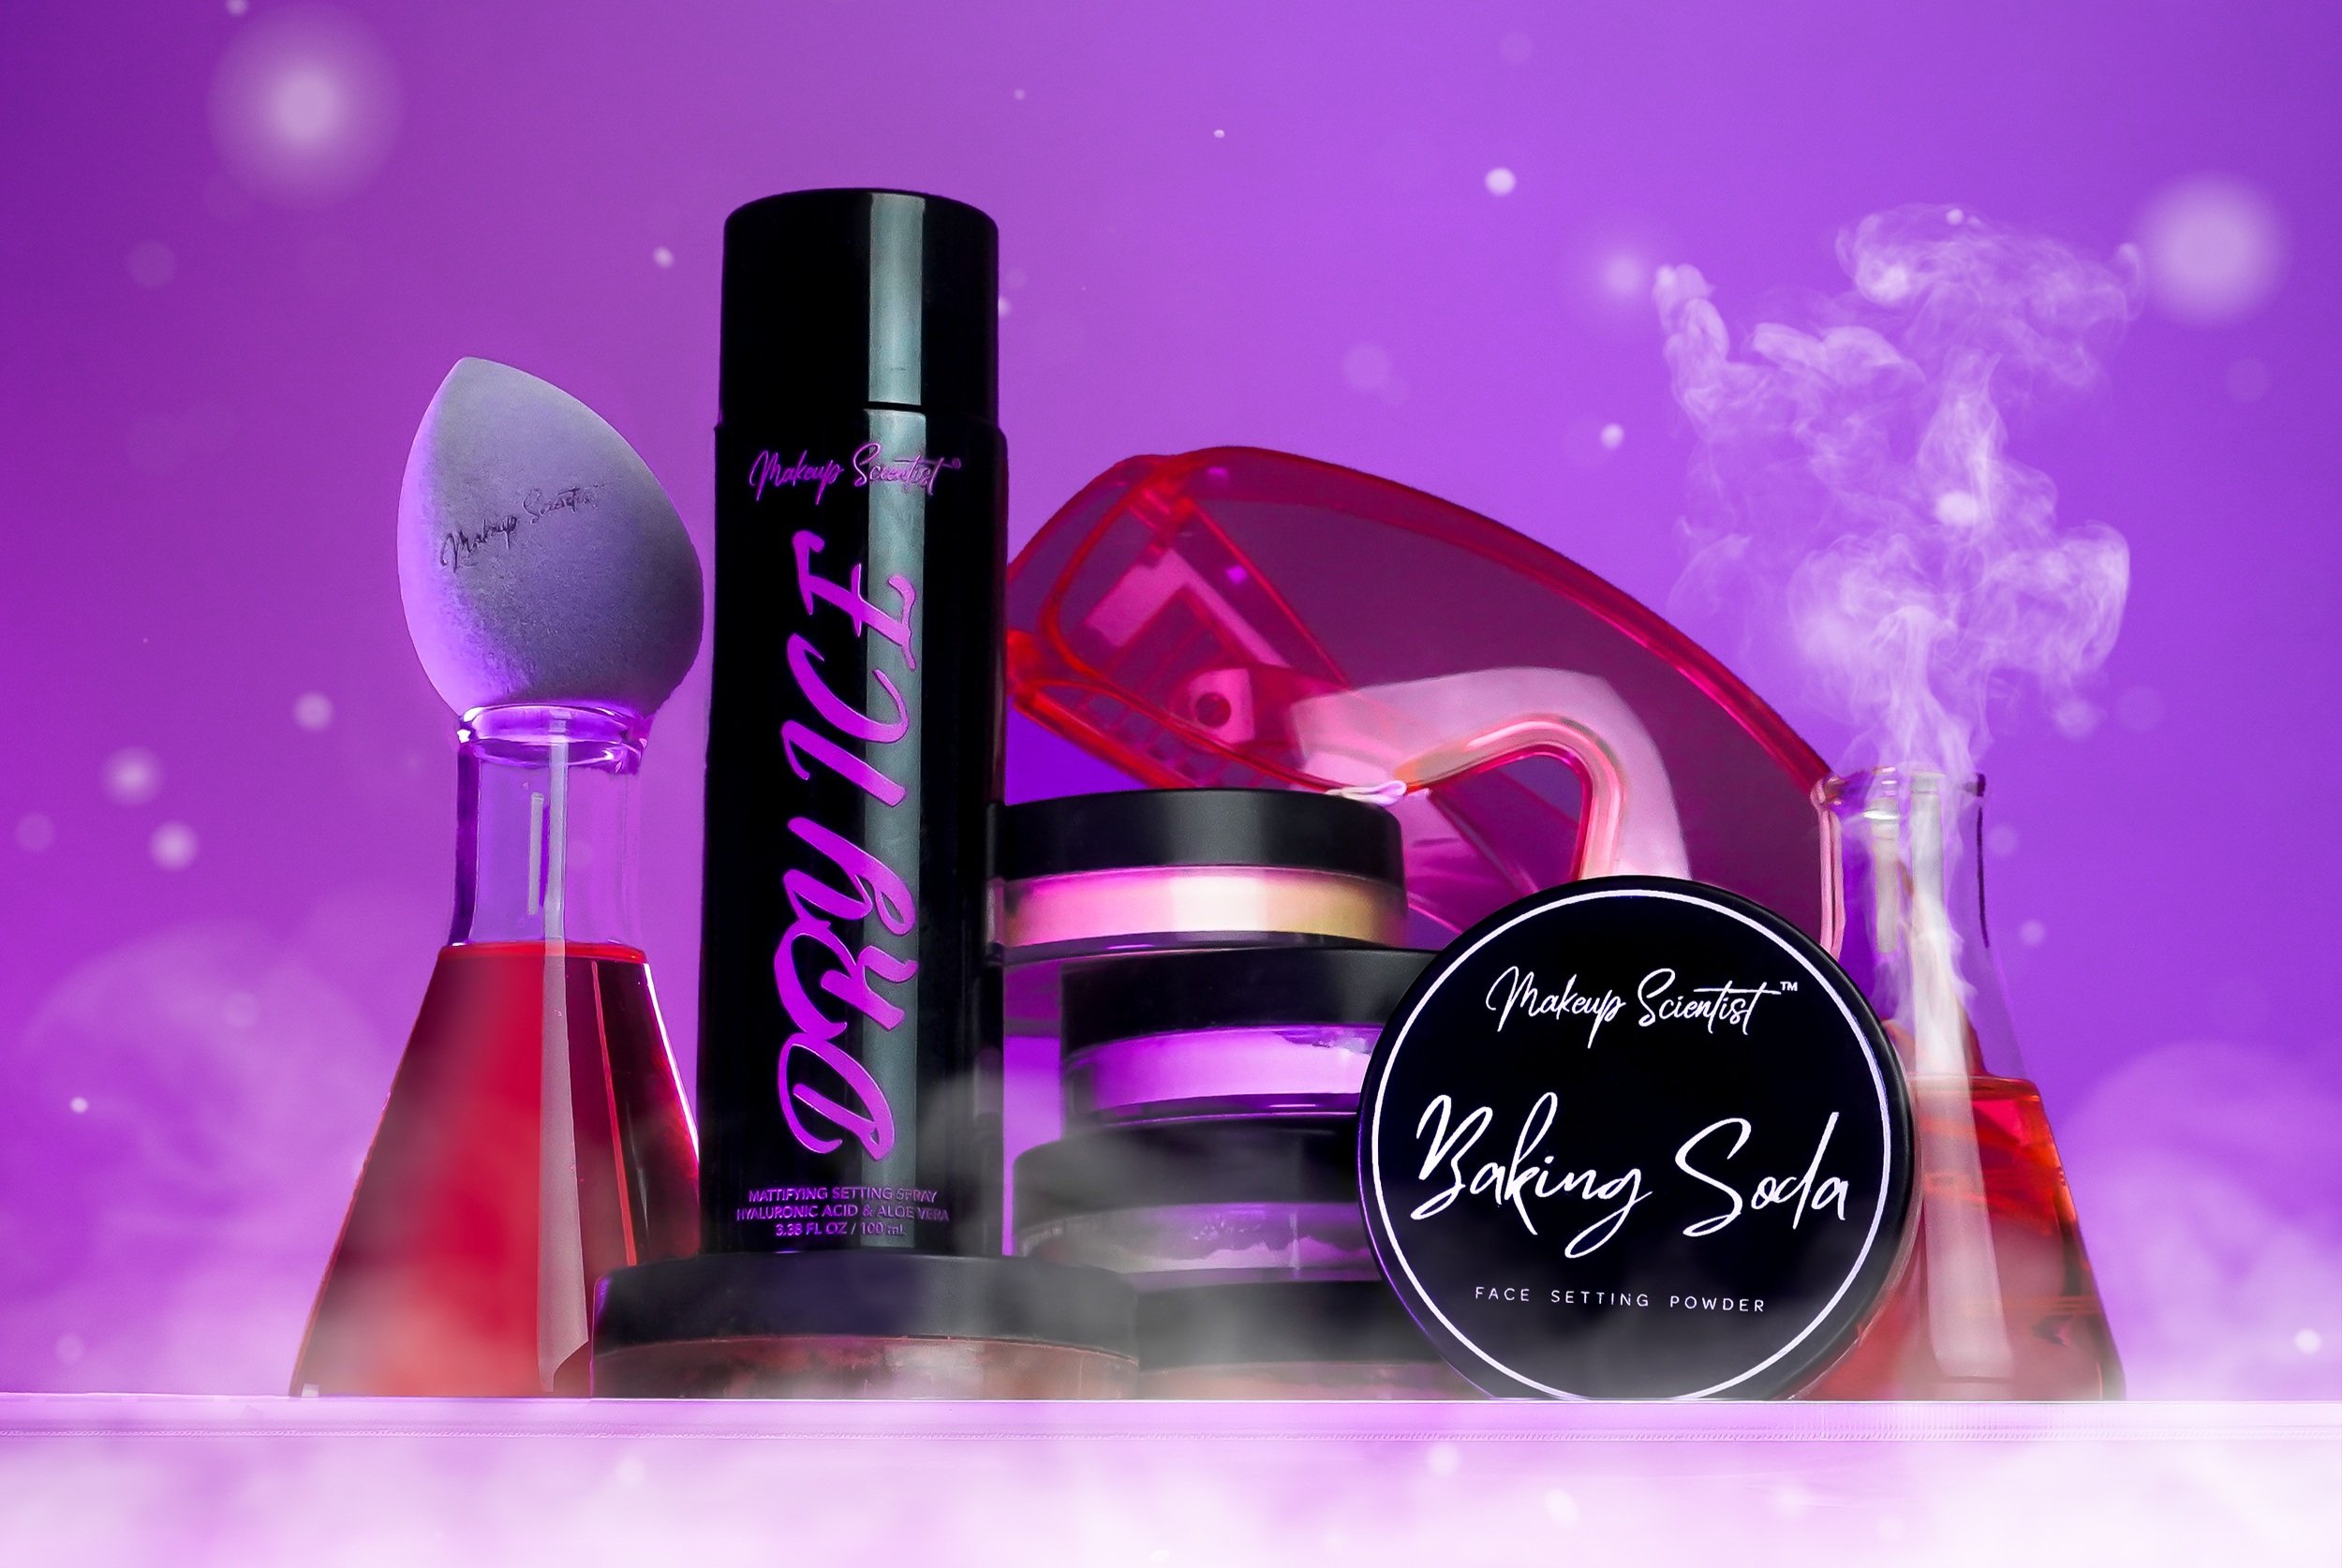
In product photography, transparent objects refer to items that allow light to pass through, revealing their internal structures or contents. Examples include glassware, bottles, jewelry, and various plastic or acrylic items. Capturing the essence and transparency of these objects is essential to showcase their beauty, functionality, and unique qualities. In this article, we will explore the art of photographing transparent objects in product photography, covering essential techniques and tips to achieve stunning results.

Common Mistakes to Avoid
When photographing transparent objects, it's important to be aware of common mistakes that can detract from the desired results. Avoid the following pitfalls:
Overexposure or underexposure: Find the right balance of light to ensure the transparency is adequately showcased without losing details.
Unwanted reflections and glare: Take care to control the lighting setup and use appropriate tools to minimize reflections and glare.
Lack of attention to detail: Ensure the transparent object is clean and free from imperfections, as they can be magnified in the final photograph.
Understanding Light & Transparency
Lighting plays a pivotal role in highlighting the transparency of objects. When light interacts with transparent materials, it refracts and reflects, creating captivating visual effects. To effectively capture transparent objects, understanding the behavior of light is crucial. There are various lighting techniques that can enhance transparency in product photography:
Backlighting: Placing a light source behind the transparent object can create a glowing effect and emphasize its see-through nature. This technique helps reveal the internal structure and intricate details of the object.
Diffused lighting: Softening the light using diffusers or umbrellas helps minimize reflections and provides even illumination across the object's surface. This technique reduces harsh shadows and ensures balanced lighting across the transparent object.
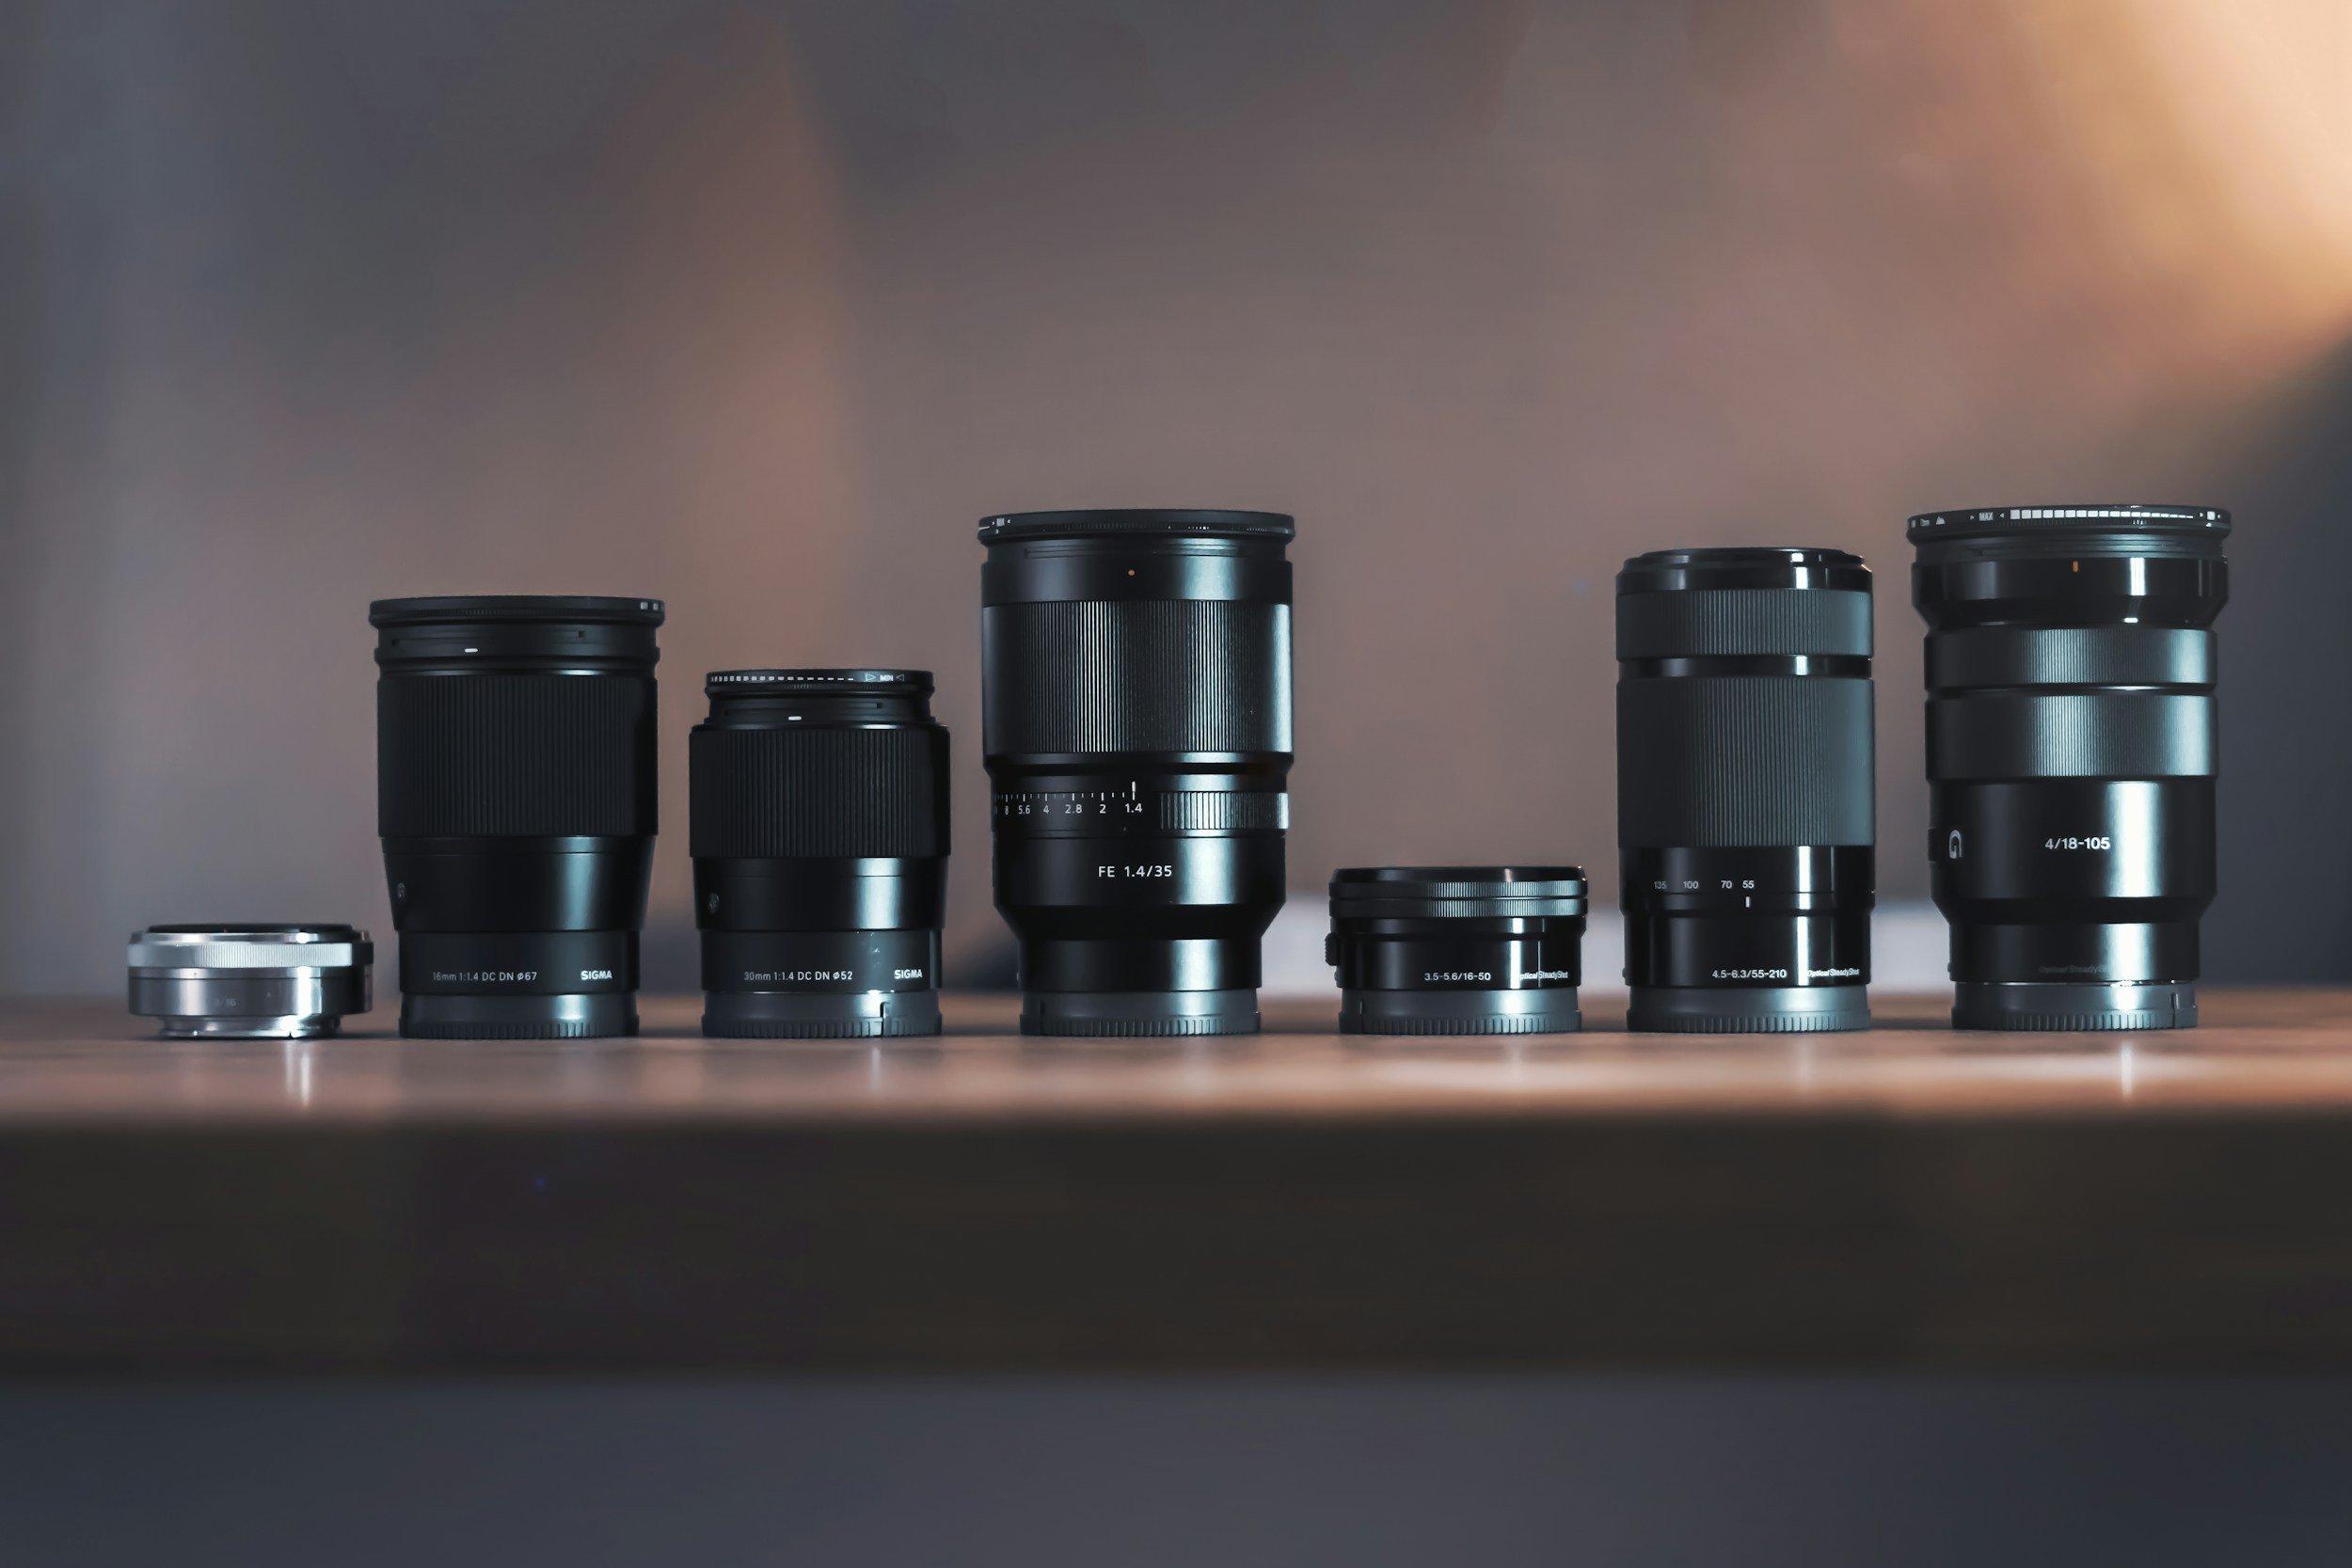
Choosing the Right Camera & Lens
Camera settings for capturing transparent objects
Aperture: Choose a small aperture (higher f-stop value) to increase the depth of field, ensuring sharp focus throughout the transparent object.
ISO: Keep the ISO low to minimize digital noise and maintain image quality.
Shutter speed: Use a tripod or stabilize the camera to enable longer exposure times without introducing blur.
Lens selection for optimal results
Macro lens: A macro lens allows for detailed close-ups, capturing intricate textures and subtle variations in transparency.
Wide-angle lens: Use a wide-angle lens to capture the entire scene when photographing transparent objects in a larger context, such as product arrangements or displays.
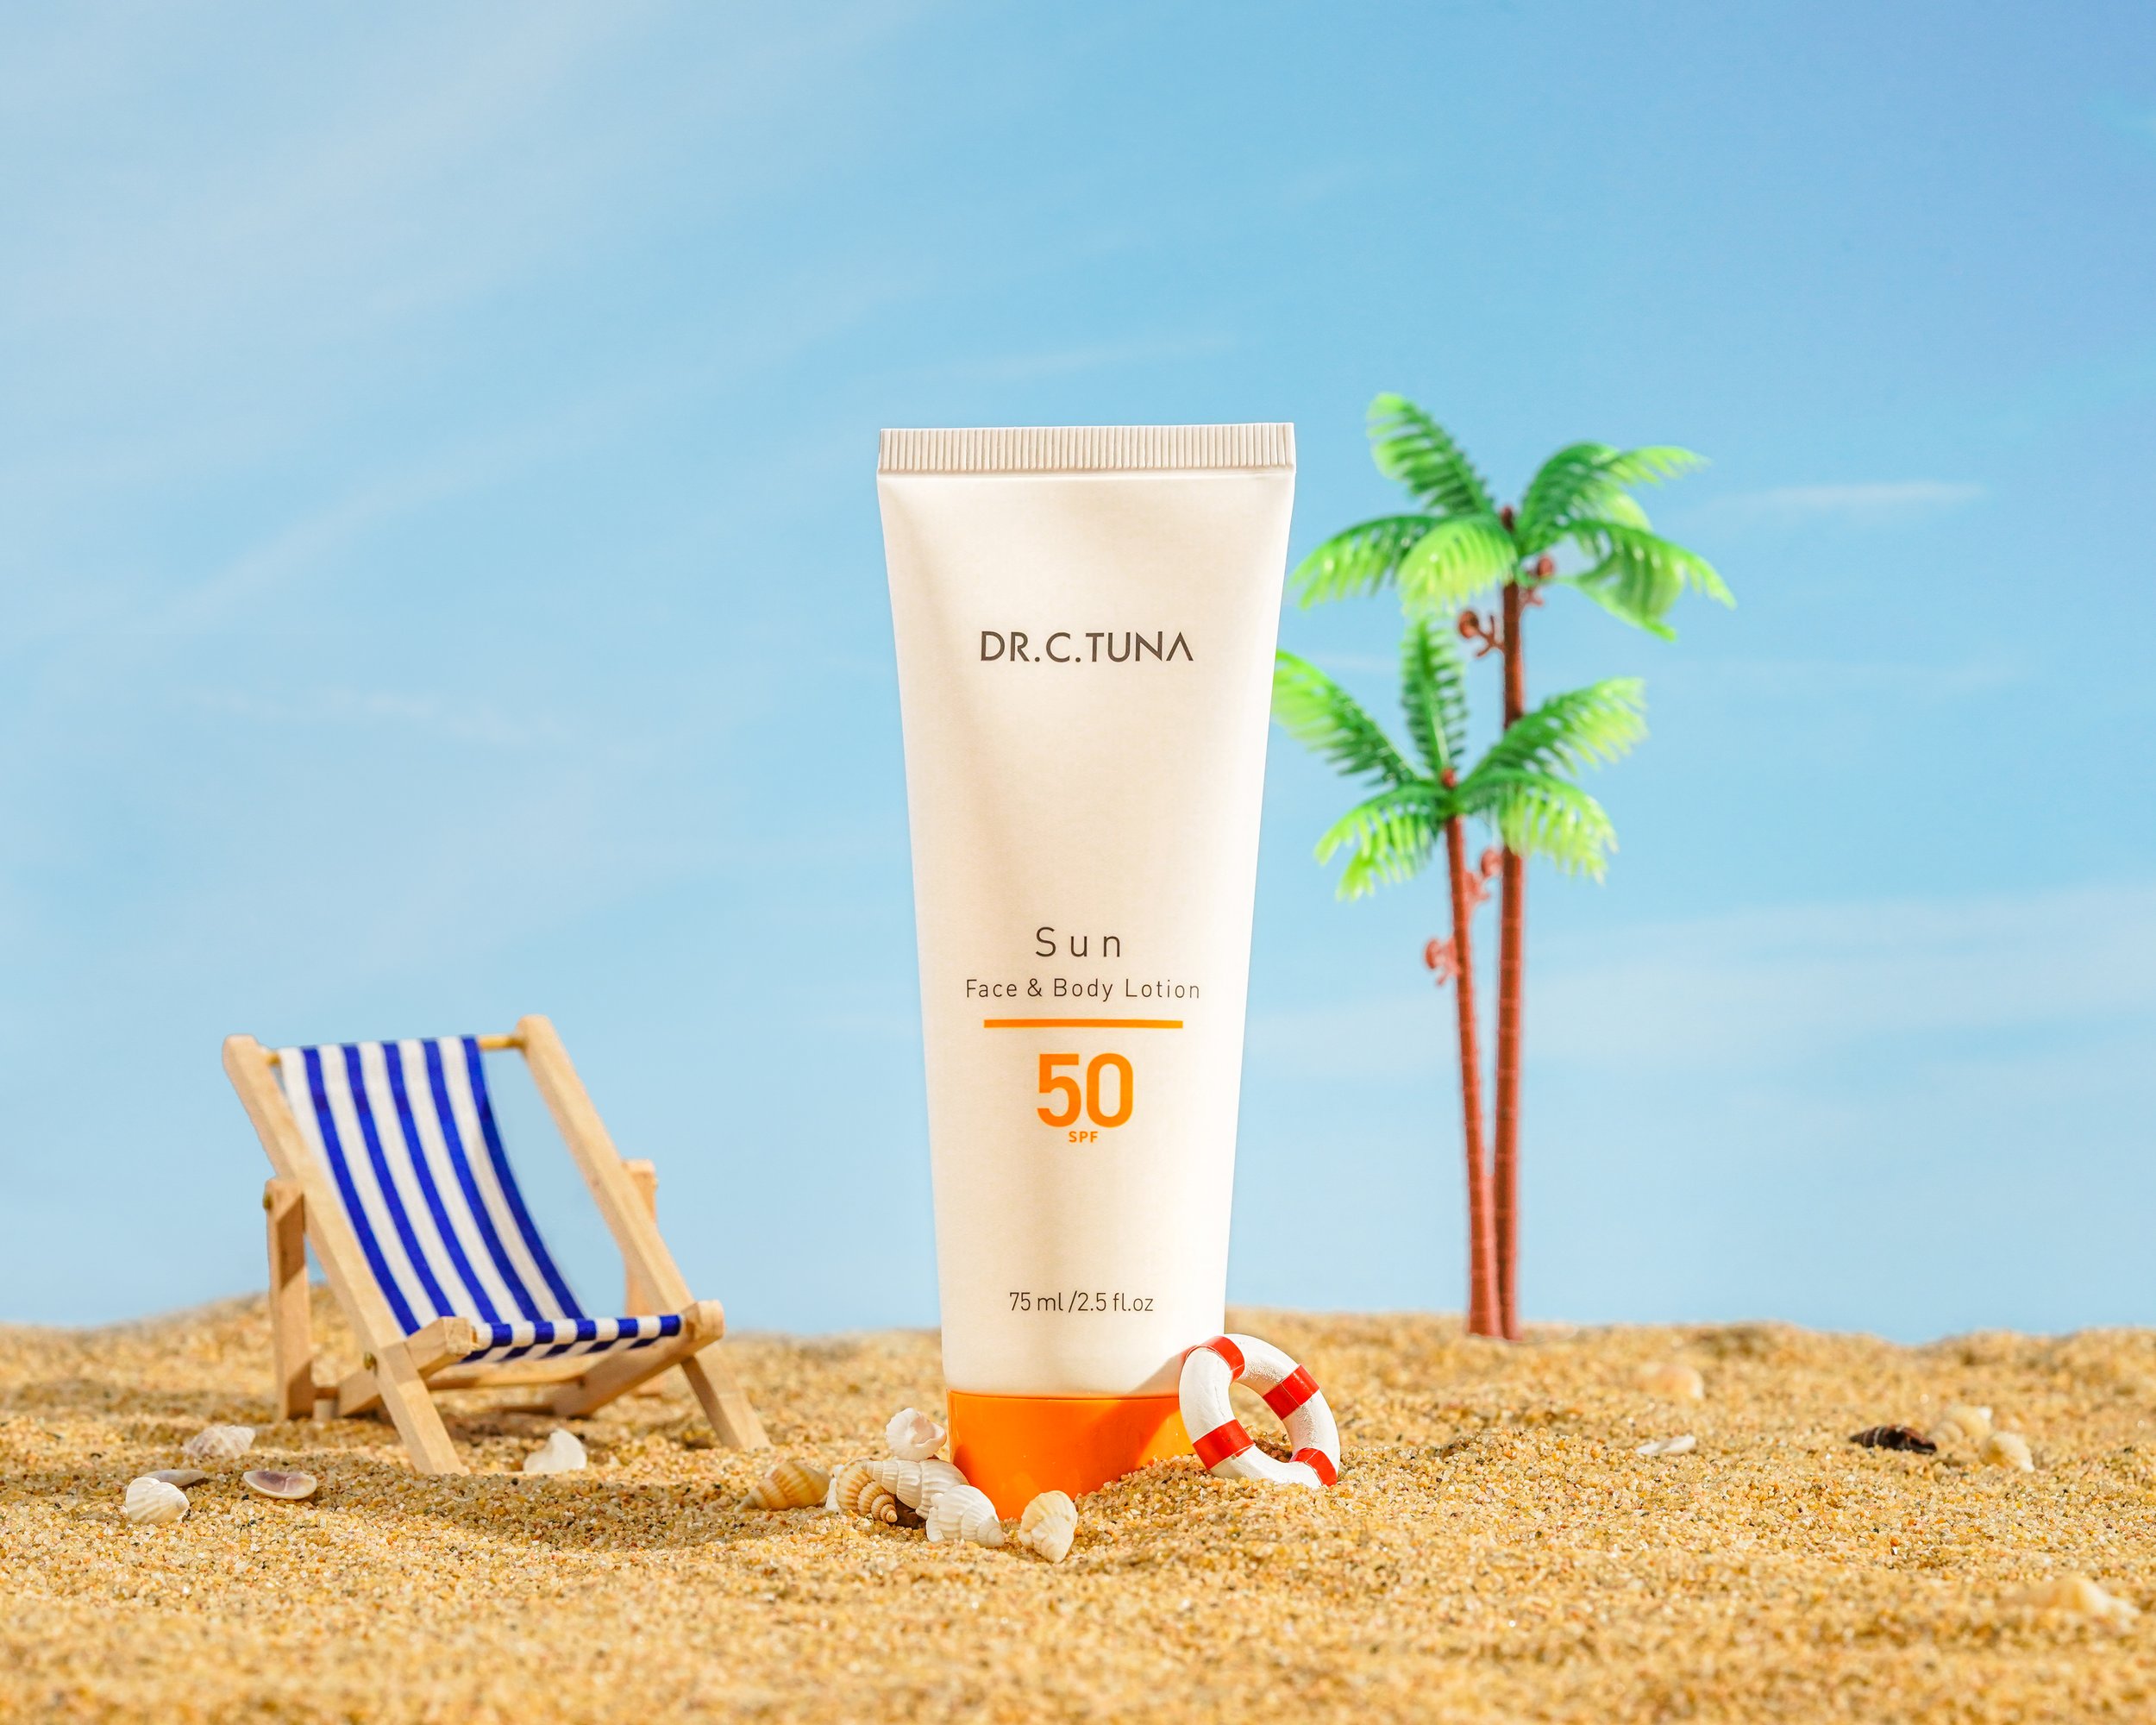

Preparing the Transparent Objects
Before photographing transparent objects, it's important to ensure they are clean and free from smudges, fingerprints, or dust. Any imperfections will be accentuated in the final photograph and may distract from the desired transparency. Additionally, set up an appropriate background and select props that complement the transparent object and enhance its appeal.
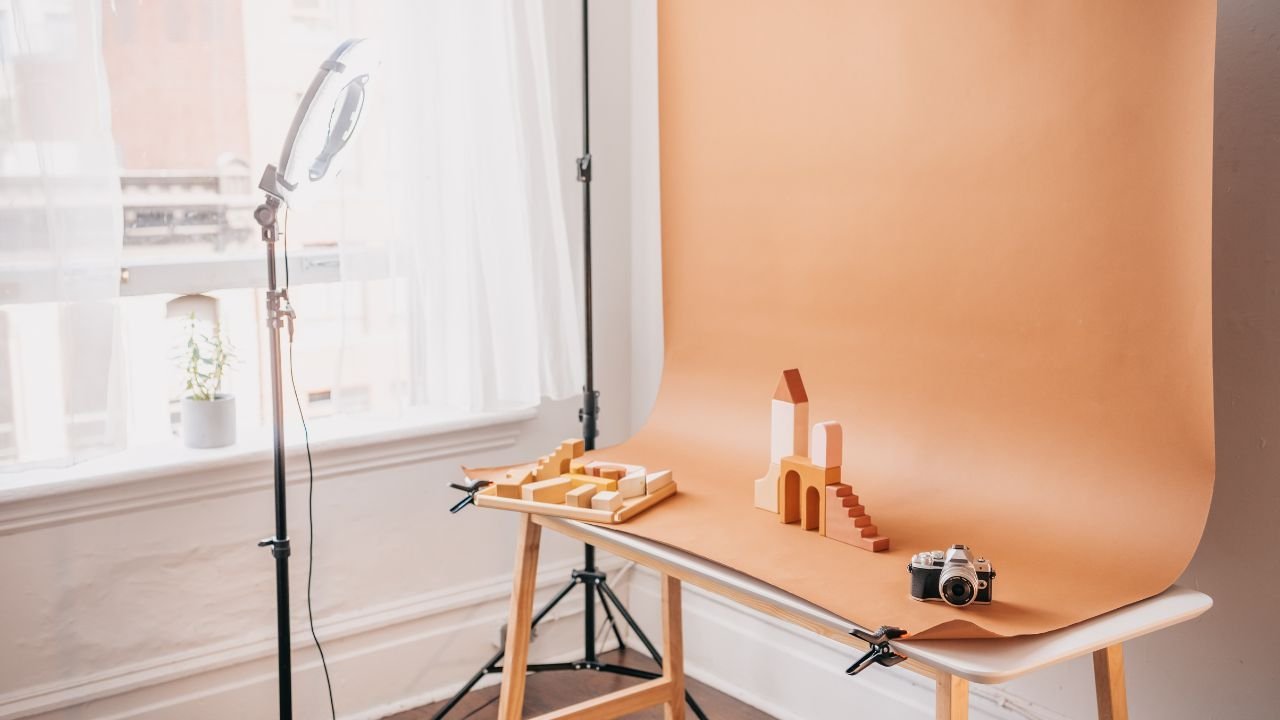
Setting Up the Scene
When setting up the scene for photographing transparent objects, pay attention to the placement and arrangement of the objects, as well as the complementary props and backgrounds that enhance their appeal.
Positioning the transparent object: Experiment with different angles and positions to find the most visually appealing composition. Consider the object's shape, size, and unique features when determining the best placement.
Using complementary props and backgrounds: Choose props and backgrounds that complement the transparent object, adding depth and visual interest to the composition. Solid-colored backgrounds or natural textures can provide a clean and elegant backdrop.
Dealing With Reflections & Glare
Reflections and glare can significantly affect the quality of transparent object photographs. Here are some techniques to minimize unwanted reflections:
Using polarizing filters: Attach a polarizing filter to your lens to control and reduce reflections. By adjusting the filter, you can enhance the transparency and clarity of the object while minimizing glare.
Using reflectors and diffusers: Reflectors and diffusers help control the direction and intensity of light. Use them strategically to redirect or soften the light, reducing reflections and glare.
Composition & Styling Tips

Consider these tips for creating visually appealing compositions and capturing the essence of transparent objects:
Creating visually appealing arrangements: Arrange transparent objects in a way that highlights their unique shapes, colors, and textures. Experiment with different compositions, such as grouping objects, creating patterns, or incorporating other elements to add visual interest.
Using creative angles and perspectives: Capture transparent objects from various angles and perspectives to showcase their three-dimensional qualities. Experiment with high and low angles, close-ups, and interesting viewpoints to add depth and engage the viewer.
Post-Processing Techniques
Post-processing allows for further enhancement and refinement of transparent object photos. Consider the following techniques:
Adjusting exposure and contrast: Fine-tune the exposure and contrast levels to bring out the details and emphasize the transparency of the object. Avoid overexposure, as it can wash out the object, and be cautious not to lose important details in the shadows.
Fine-tuning colors and highlights: Pay attention to the colors and highlights of the transparent object. Adjust the white balance to ensure accurate color representation. Enhance the highlights to make the object stand out, but be careful not to create unnatural-looking reflections.
Removing unwanted reflections and blemishes: Using photo editing software, clone or heal brush tools to remove any distracting reflections or blemishes on the transparent object's surface.
Conclusion
Photographing transparent objects in product photography requires a combination of technical know-how, artistic vision, and attention to detail. By understanding the behavior of light, using appropriate lighting techniques, and applying effective post-processing methods, you can capture the transparency and unique qualities of objects in a visually captivating manner. Remember to experiment, be creative, and showcase transparency as a powerful tool for highlighting the beauty and functionality of your products.
FAQs
What are some popular transparent objects used in product photography?
Popular transparent objects used in product photography include glassware, bottles, jewelry, vases, and various plastic or acrylic items.
How can I achieve a clean and professional look in transparent object photos?
Ensure the objects are clean and free from smudges or fingerprints. Pay attention to lighting techniques to minimize reflections and use appropriate backgrounds and props to enhance the composition.
Are there any specific camera settings I should use for photographing transparent objects?
Using a small aperture (higher f-stop value) for a larger depth of field, keeping the ISO low, and stabilizing the camera for longer exposure times are recommended for capturing transparent objects effectively.
Can I use natural light for capturing transparent objects?
Yes, natural light can be used for capturing transparent objects. However, be aware of potential challenges such as harsh shadows and uncontrollable reflections. Consider using diffusers or shooting during overcast conditions to soften the light.
What are some post-processing software options for editing transparent object photos?
Popular post-processing software options for editing transparent object photos include Adobe Photoshop, Lightroom, and Luminar Neo.
Featured Articles
Shop
Premium digital templates designed for product photographers