How to Pitch Photography to Brands: A Step-by-Step Guide
Today, powerful visuals sit at the heart of brand marketing. Companies rely on striking images to tell their story, grab attention, and build unshakable trust with their audience. And that’s where you come in.
As a photographer, you need to give brands a reason to see you as their perfect creative partner. But let’s be real—pitching can feel terrifying. I’ve been there: What if they ignore my email or think my pitch sounds desperate? The anxiety of putting yourself out there and being rejected is enough to make anyone hesitate. Trust me, I’ve been there, battling those same doubts.
A great pitch can make all the difference. It isn’t just about flaunting beautiful images; it’s about crafting a message that makes brands think, “We need this photographer on our team—now.” In this article, I’ll guide you through how to craft a pitch that grabs attention and makes brands say “yes.” Plus, if you’re eager to hit the ground running, our Photography Pitch Deck Template is the jumpstart you’ve been waiting for.
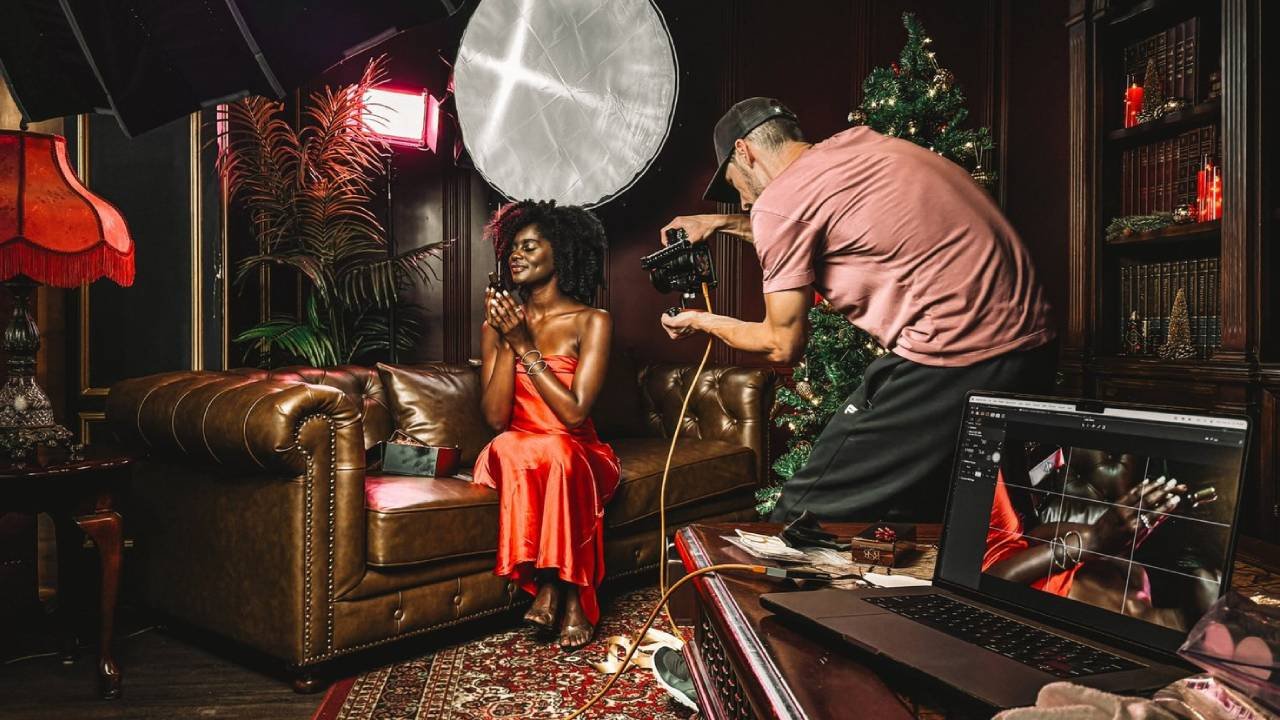
Behind the scenes of a lifestyle product shoot for a body oil brand.
Who Should You Pitch to?
When it comes to pitching, your options are wide open. You can pitch fresh project ideas to old clients, sparking renewed collaborations and showing them the exciting ways you can continue to elevate their brand. Think of it as reigniting a partnership with a creative spark they didn’t even know they needed. (Want to hear about the time I pitched a $9,000 project idea to an old client?)
On the flip side, you can pitch your services to new potential clients—brands you’ve always dreamed of working with. These pitches should highlight how your photography fits seamlessly into their marketing vision and why you’re the perfect choice to bring their story to life. Whether you’re reconnecting with past clients or introducing yourself to new ones, pitching is the key to opening doors and creating opportunities that may have otherwise gone unexplored. No, let’s jump into step 1!
Step 1: Research the Brand Thoroughly
Before you even think about reaching out, take time to understand the brand inside and out. You need to position yourself as someone who can understand their vision and bring it to life.
Identify Their Style and Aesthetic
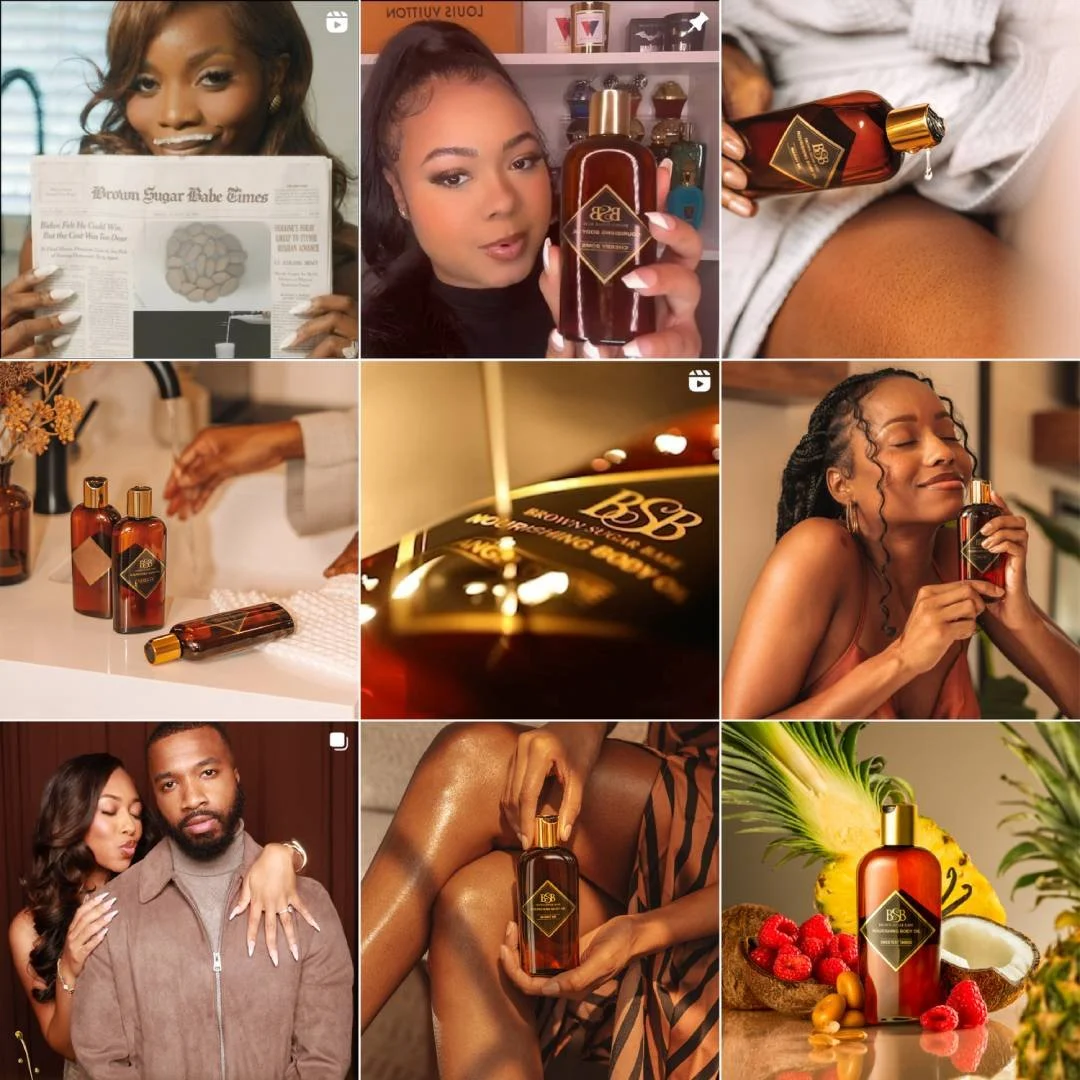
Start by diving into the brand’s website, social media, and recent campaigns. Pay attention to the colors, tone, and overall style they use. Are their visuals bright and bold or more muted and minimalist?
Do they go for highly styled product shots or lifestyle images with models? This information will help you align your own style with theirs, or at least show you how to adapt it. Brands want to know that your work will seamlessly fit into their existing image while bringing something fresh to the table.
Understand Their Target Audience
Digging into the brand’s audience is a crucial step that often gets overlooked. Knowing who the brand is speaking to—whether it's young, adventurous types, or sophisticated professionals—can shape your pitch and give you a huge advantage.
Explore Their Social Media Accounts
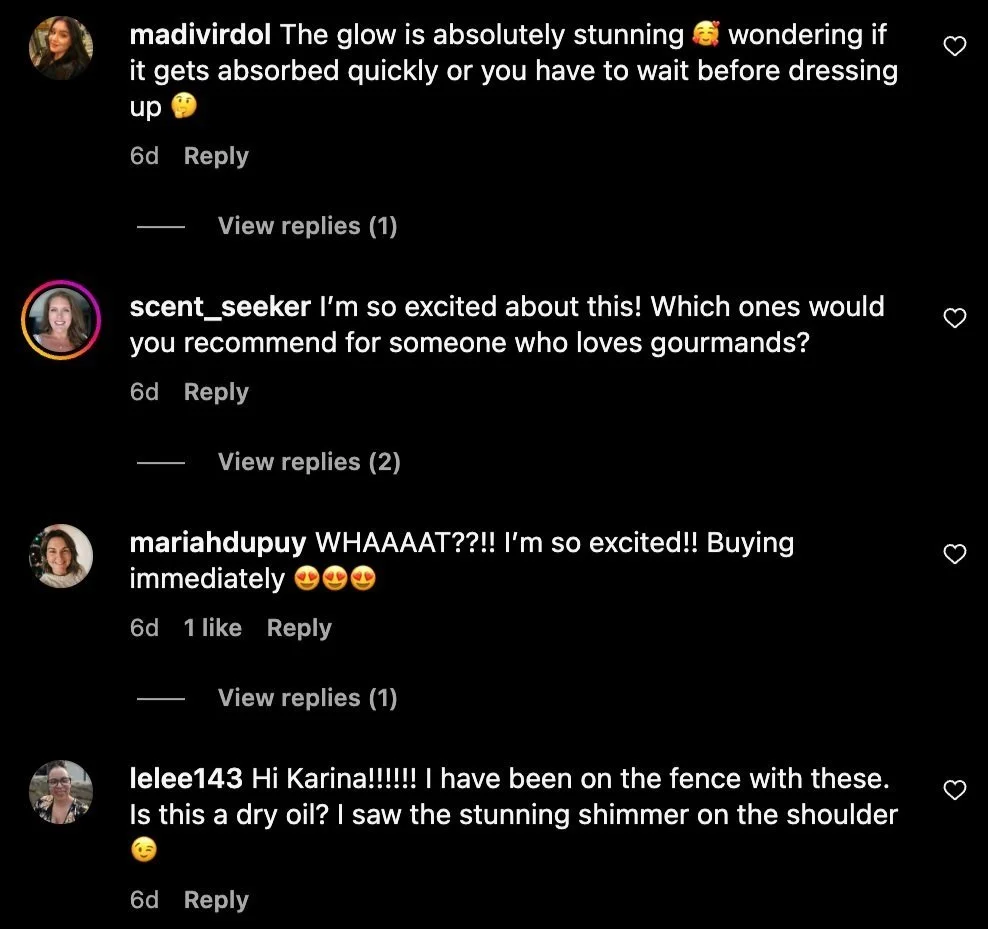
Take note of where they’re most active, who’s engaging with them, and which types of content spark the most interaction. Pay attention to the tone and themes that resonate with their followers—whether it’s sleek minimalism, trendy aesthetics, or valuable, informative posts.
By understanding these preferences and values, you can craft pitches that truly leverages the value you can bring to the brand.
Analyze Competitors
Finally, spend some time researching the brand’s competitors. Understanding where the brand stands in its market can be incredibly helpful in showing how you can help them stand out. Look at what similar brands are doing with their visuals.
Are they following similar trends, or is there an opportunity for your photography to set this brand apart? By presenting ideas that show how the brand can carve out a unique identity in its industry, you’re demonstrating that you’re not just a photographer—you’re a creative partner with a vision for their growth.
Step 2: Prepare a Tailored Portfolio or Media Kit
Once you know the brand inside and out, it’s time to show them why you’re the perfect fit. A tailored portfolio or media kit is crucial for making a powerful impression. Rather than sending a generic collection of your best work, select images that align with the brand’s aesthetic and speak directly to their vision.
A media kit takes this to the next level. It’s a polished, professional package that gives potential clients a comprehensive look at what you bring to the table. In addition to your best, brand-aligned images, a media kit can include details like your services, past collaborations, and any impressive stats about your work—such as engagement rates for social content or notable brand features.
This thoughtful, polished presentation not only highlights the value you bring but also shows that you’re invested in the brand’s success—setting you apart from those who rely on generic portfolios.
Start By Selecting Relevant Work
Start by curating a selection of images that best represent the style and vibe the brand goes for. If the brand leans toward clean, minimalist visuals, choose your sleek, refined shots. If they’re bold and colorful, pull in your most dynamic and vibrant images. Think of your portfolio as a preview of what you could create for them specifically—it should feel like it was made with their brand in mind.
Media Kit Format and Design Tips
Presentation matters, especially when you’re trying to make a great first impression. Whether you decide to use a clean, professionally designed PDF Media Kit or digital portfolio, keep the design cohesive and easy to navigate. Use subtle branding elements like your logo, a consistent font, and a color scheme to showcase your attention to detail and eye for design.
Most importantly, keep it short. Limit each page to just a few images or one case study, so it’s easy to focus on each piece.
Step 3: Craft a Personalized Pitch on Instagram DMs
When your portfolio is ready, your instinct might be to draft a carefully worded email—but there’s a better, faster way: pitching through Instagram DMs. Why? Because brands live on social media. They’re constantly checking their notifications, eager to engage with followers, and much more likely to respond quickly on a platform they use daily. A well-crafted DM not only grabs their attention faster but also sets you up for a more seamless follow-up.
Here’s How to Use Instagram DMs to Your Advantage
Start with a personalized, attention-grabbing message: This should briefly introduce who you are and what you do, tying it directly to the brand’s goals and values.
Highlight where they can improve: Identify areas where your photography could make a real impact. Be specific but tactful, like, “Your feed is stunning, but have you considered incorporating professional lifestyle photos & videos? This style of content is proven to increase engagement by (ABC) and help strengthen consumer aspirations to position your (XYZ) as the go-to (XXX).” This shows you’ve analyzed their brand and are genuinely invested in elevating their visual presence.
Get the Proper Email for a Follow-Up: Once you’ve piqued their interest, ask for the best email address to forward your pitch. Not only does this feel more personal and direct, but it also means they’re expecting your email—no more getting lost in a generic customer service inbox. Plus, you’ll have the right contact, drastically improving your email’s click-through rate and response chances.
Want to learn more about this hybrid approach and how to perfect your pitch? Our Free Business Mini-Course takes you step-by-step through crafting pitches that not only get noticed but also convert. Don’t miss out—your next opportunity could be just a DM (and a follow-up email) away!
Step 4: Follow Up With an Email
Now that you’ve successfully connected on Instagram and secured the right email address, it’s time to make your pitch official. But remember, you don’t want to overload them with details—your goal is to keep them intrigued and excited to learn more. Here’s how to structure your follow-up email:
Keep It Personal and Reference Your DM
Start by referencing your Instagram conversation to remind them who you are and establish that existing connection. For example: “Hi [Brand Rep’s Name], It was great chatting on Instagram about your incredible [Product/Campaign]. As promised, I’m excited to share more about how I can elevate your brand’s visuals.”
Even if the email you received from the brand on Instagram connects you to someone new, make sure to mention your prior chat. Referencing your previous conversation adds a layer of credibility and makes you appear more established and engaged with the brand, increasing the likelihood of a prompt and positive response.
Tease Your Value Proposition
Briefly outline how your photography can meet their needs, but keep it concise and compelling. Mention your unique approach or highlight your experience with similar brands, but avoid giving away too much: “I specialize in lifestyle content that showcases your products in real-world settings to help strengthen consumer desires. I’d love to discuss how we can use this approach to drive more sales from your audience.”
Transition to Your Pitch Deck
Now, it’s time to pique their interest in your creative ideas. Tease what’s coming next: “To give you a clearer vision, I’ve prepared a pitch deck with creative concepts tailored to [Brand Name]. It includes dynamic lifestyle images designed to engage and convert your audience. Let me know if you’d like me to send it over, and I’d be thrilled to walk you through the concepts.”
End with an Open Invitation
Close your email by inviting them to continue the conversation: “Looking forward to hearing your thoughts and exploring how we can make your next campaign a visual success.”
Step 5: Creating a Powerful Pitch Deck (In Under 10 Minutes)
Before hitting send on your email, the final step is to impress them with your pitch deck. This is your chance to bring your vision to life, clearly outline what you bring to the table, and help the brand visualize your ideas. By doing this, you’ll instill confidence and excitement about working with you.
Outline the Project Scope
Start by clearly defining what you’ll deliver. A well-defined scope not only communicates professionalism but also helps prevent misunderstandings later. Specify the number of high-resolution photos, the types of shots you’re proposing (e.g., lifestyle, ingredient-focused, or editorial), and any extras, like short-form videos, if relevant. For example:
“I’ll deliver 20 high-resolution, edited images, including a mix of ingredient shots and lifestyle photos that align perfectly with your brand’s aesthetic and messaging.”
This clarity reassures the brand that you’re organized, detail-oriented, and serious about delivering results.
Suggest Creative Concepts
Next, show off your creativity by presenting a few tailored concepts for a potential shoot. Consider some of the following questions:
Should the brand invest in ingredient-focused studio images to highlight the product’s benefits?
Could the brand benefit from a shoot with the model using and loving their product?
Is there an upcoming season a campaign can be tied to?
Don’t overthink or spend too much time perfecting this section. The goal is to put something together quickly that provides a comprehensive yet concise view of your ideas and capabilities. You want to spark excitement and show initiative, not overwhelm the brand with excessive details. This approach positions you as a creative partner who’s ready to dive in and deliver.
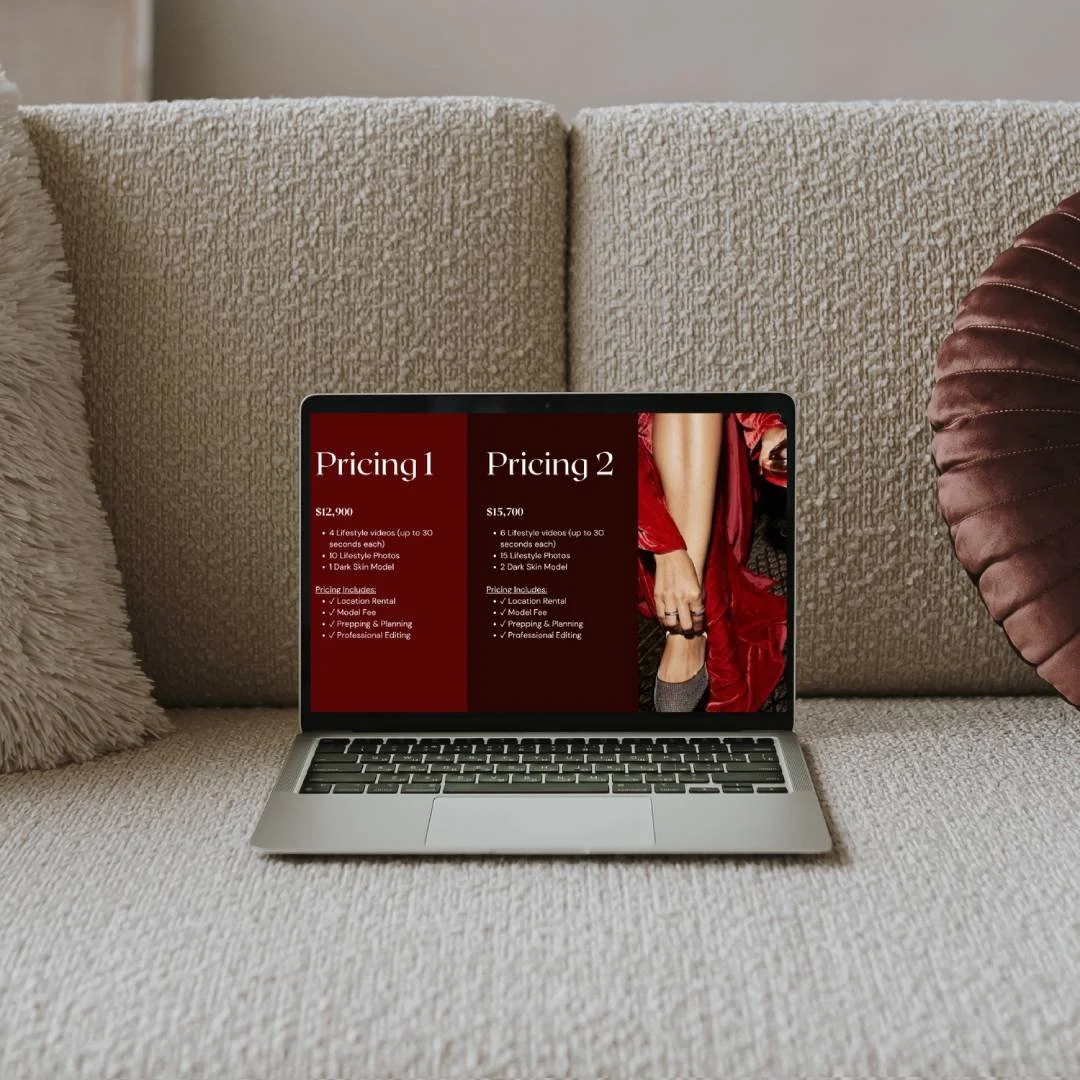
Set Expectations on Pricing
Once your concepts are laid out, be transparent about your pricing. Break down your rates clearly and include any package options to give the brand flexibility. Highlight the value in each offering—whether it’s the quality of your edits, the time invested in creative concept development, or your proven expertise in achieving on-brand visuals.
Consider mentioning additional services included in your pricing like licensing, props, or social media edits to emphasize the value of your pricing.
Step 6: Address Their Goals and Pain Points
Here’s where you make your pitch even more compelling. Show the brand that you understand their marketing goals and how your photography can be the solution they’ve been looking for. For instance, if they’re struggling to maintain visual consistency across platforms, explain how you can create a cohesive set of images that elevate their brand identity.
Acknowledge their challenges: “I know that many skincare brands struggle to communicate the unique benefits of their products in a way that resonates with their audience. My lifestyle photography services are designed to bridge that gap, making your products relatable and irresistible.”
If possible, add credibility by mentioning past successes: “For example, in a recent campaign, my images helped a body butter brand boost Instagram engagement by 30%, driving more traffic and conversions.”
End with a Call to Action
Wrap up your email by inviting the brand to take the next step: “I’d love to set up a time to walk you through the pitch deck and discuss how we can bring these concepts to life. Let me know when you’re free, and I’ll make it work!”
By laying out your vision in a pitch deck and demonstrating your understanding of their brand, you’re setting yourself up as the ideal creative partner. And if they’re intrigued, you can always guide them to your free mini-course to learn even more about your approach.
Step 6: Follow Up Strategically
After sending your proposal, it’s essential to stay on the brand’s radar without coming across as pushy. A thoughtful follow-up shows professionalism, genuine interest, and confidence in your work.
Timing is everything. A good rule of thumb is to wait about one week before sending a follow-up email. This allows the brand team some time to review your proposal without feeling rushed. If you haven’t heard back after the first follow-up, consider sending a gentle reminder a week or two later. Keep it light and professional—acknowledge their busy schedule and express your hope for an update when they have a moment.
Additionally, to keep their interest piqued, include a small bonus with your follow-up. You might suggest an additional creative idea that would complement their brand or attach an extra sample image to showcase your range. For instance, if you proposed lifestyle photography, you could attach an example of a product flat-lay or studio shot that adds a different perspective.
Step 7: Be Ready to Negotiate and Handle Objections
Negotiation is a natural part of the process, and being prepared for it shows that you’re professional and adaptable. When brands express concerns—whether about budget, timelines, or specific deliverables—view it as an opportunity to build trust and highlight the value of your work.
For instance, they might ask if you can work within a lower budget or if you can deliver the final images faster. Think ahead about how you’ll respond to these common requests.
Consider options like offering a smaller package for a reduced rate or adjusting the timeline for a quicker delivery. Providing a professional welcome packet can also help set clear expectations upfront, making the negotiation process smoother.
Lastly, when price becomes a sticking point, focus the conversation on the value your photography will bring to the brand. Emphasize the long-term impact of quality visuals, such as increased brand engagement, stronger customer connections, and improved sales. Explain that, while high-quality photography may cost more initially, it can save the brand time and money by reducing the need for constant reshoots or visual inconsistencies. Position your work as an investment in their brand identity, not just a one-time expense.
Alternatively, you can simply suggest a smaller package that better accommodates their budget.
Final Words
Not every pitch will land a huge project, but every positive interaction is a win in itself. A “maybe” or even a “not right now” can still lay the groundwork for future opportunities. Brands often remember photographers who reach out thoughtfully and professionally. Celebrate these small wins—each one brings you closer to a long-term brand connection.
And if you’re feeling overwhelmed or want to sharpen your pitching game, don’t worry—you don’t have to figure it all out alone. Our Free Business Mini-Course walks you through every step of pitching to brands, from crafting engaging messages to sealing the deal. Ready to gain the confidence and skills to land your dream clients? Click here to get started and transform how you pitch your photography services today!
Remember, rejection is a natural part of the pitching process, and it happens to every photographer, no matter how experienced. Some pitches may not resonate, or a brand may not have a current need for your style. A “no” today doesn’t mean a closed door forever. The key is resilience; keep refining your approach, stay open to feedback, and remain confident in your work. The right opportunities will come.
FAQs
How do you pitch your photography services to brands?
Discover effective strategies for creating a personalized and impactful pitch that gets noticed by potential clients.How do you write a compelling email pitch for a photography project?
Learn the key elements of a winning pitch email, from subject lines to value propositions.Why is Instagram DM pitching effective for photographers?
Explore the advantages of using social media to pitch your services and why brands are more likely to respond to DMs.What is a pitch deck for photographers?
A pitch deck for photographers is a visual presentation that showcases your work, creative ideas, and the value you bring to potential clients.What should be included in a photography pitch deck?
Find out what makes a pitch deck stand out, from project scope details to creative concepts and pricing.


Learn how to train ChatGPT to understand your photography business, brand voice, and dream clients—so every prompt you use gets personalized, strategic results. A must-read for photographers using AI to book better clients.