
How to Build a Photography Portfolio for Under $10!
Whether you're just starting out or transitioning from a different photography niche, building a stunning portfolio doesn't have to break the bank. In fact, you can create a professional-looking portfolio for under $10! Let's dive into the steps and get you started.
Watch The Full Youtube Video 👇🏼
No Props? No Problem!
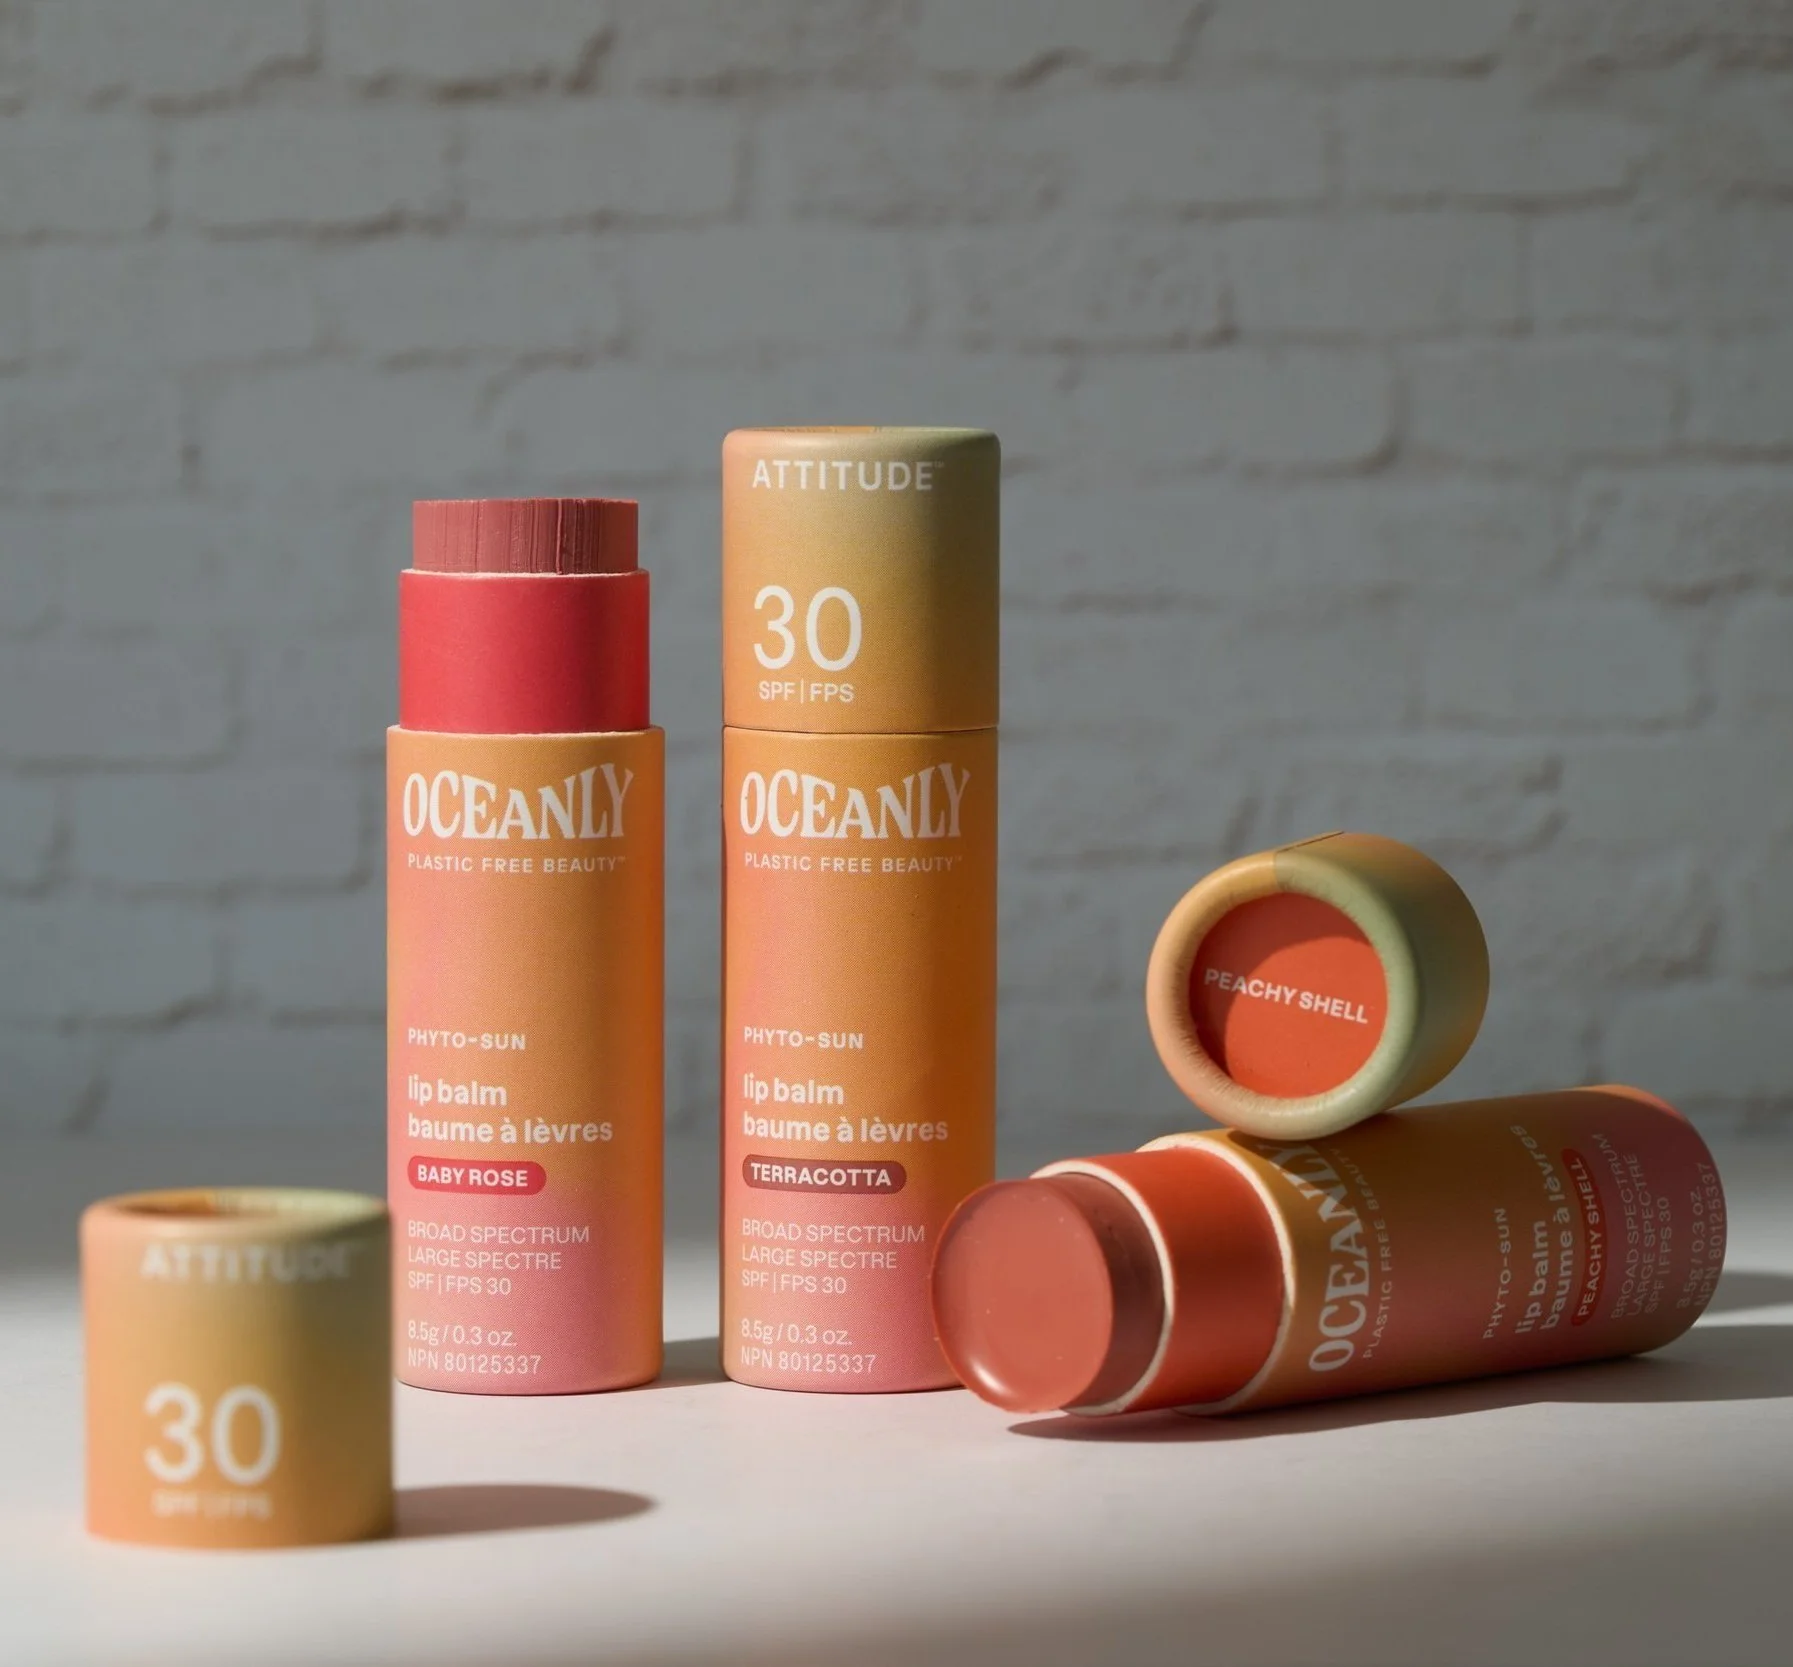
You might think you need a ton of props and fancy setups to make your product photos pop, but sometimes less is more. Simple, product-focused images can be incredibly impactful. Personally, I love simple images because they highlight the product and create a more intimate shot.
Your Essential Tool: The Backdrop
The only thing you'll need to purchase is a backdrop. Luckily, local craft stores, Walmart, and Amazon offer scrapbooking paper in various colors, patterns, and textures like marble, brick, and tile. These are perfect for creating diverse backgrounds for your product shots.
Related: “The Ultimate Guide to Product Photography Backdrops”

1. Setting Up Your First Shot: Natural Light
For our first photo, we're keeping it as simple as possible—no studio lighting, just natural light.
What You Need:
A table or a floor near a window
One piece of design paper

Step-by-Step:
Pick a Backdrop: Choose a paper backdrop.
Location: Place your backdrop near a big window to maximize natural light.
Select Your Products: Choose which products you will be featuring.
Arrange and Shoot: Place the products on the backdrop and snap the photo.
*For a more creative shot, remove the lid to showcase the product inside.
2. Second Setup: Adding a Light Source
Now, let’s add a bit more complexity with a single light source.
What You Need:
A table or a floor space against a wall
Matching colored paper for the floor and wall
Sticky tack and masking tape to hold everything in place
White poster board
One light source (I'm using the Godox FV150)
Related: “Best Continuous Lights for Product Photography Under $300”

Step-by-Step:
Set Up the Backdrop: Attach the colored paper to the wall and floor using masking tape.
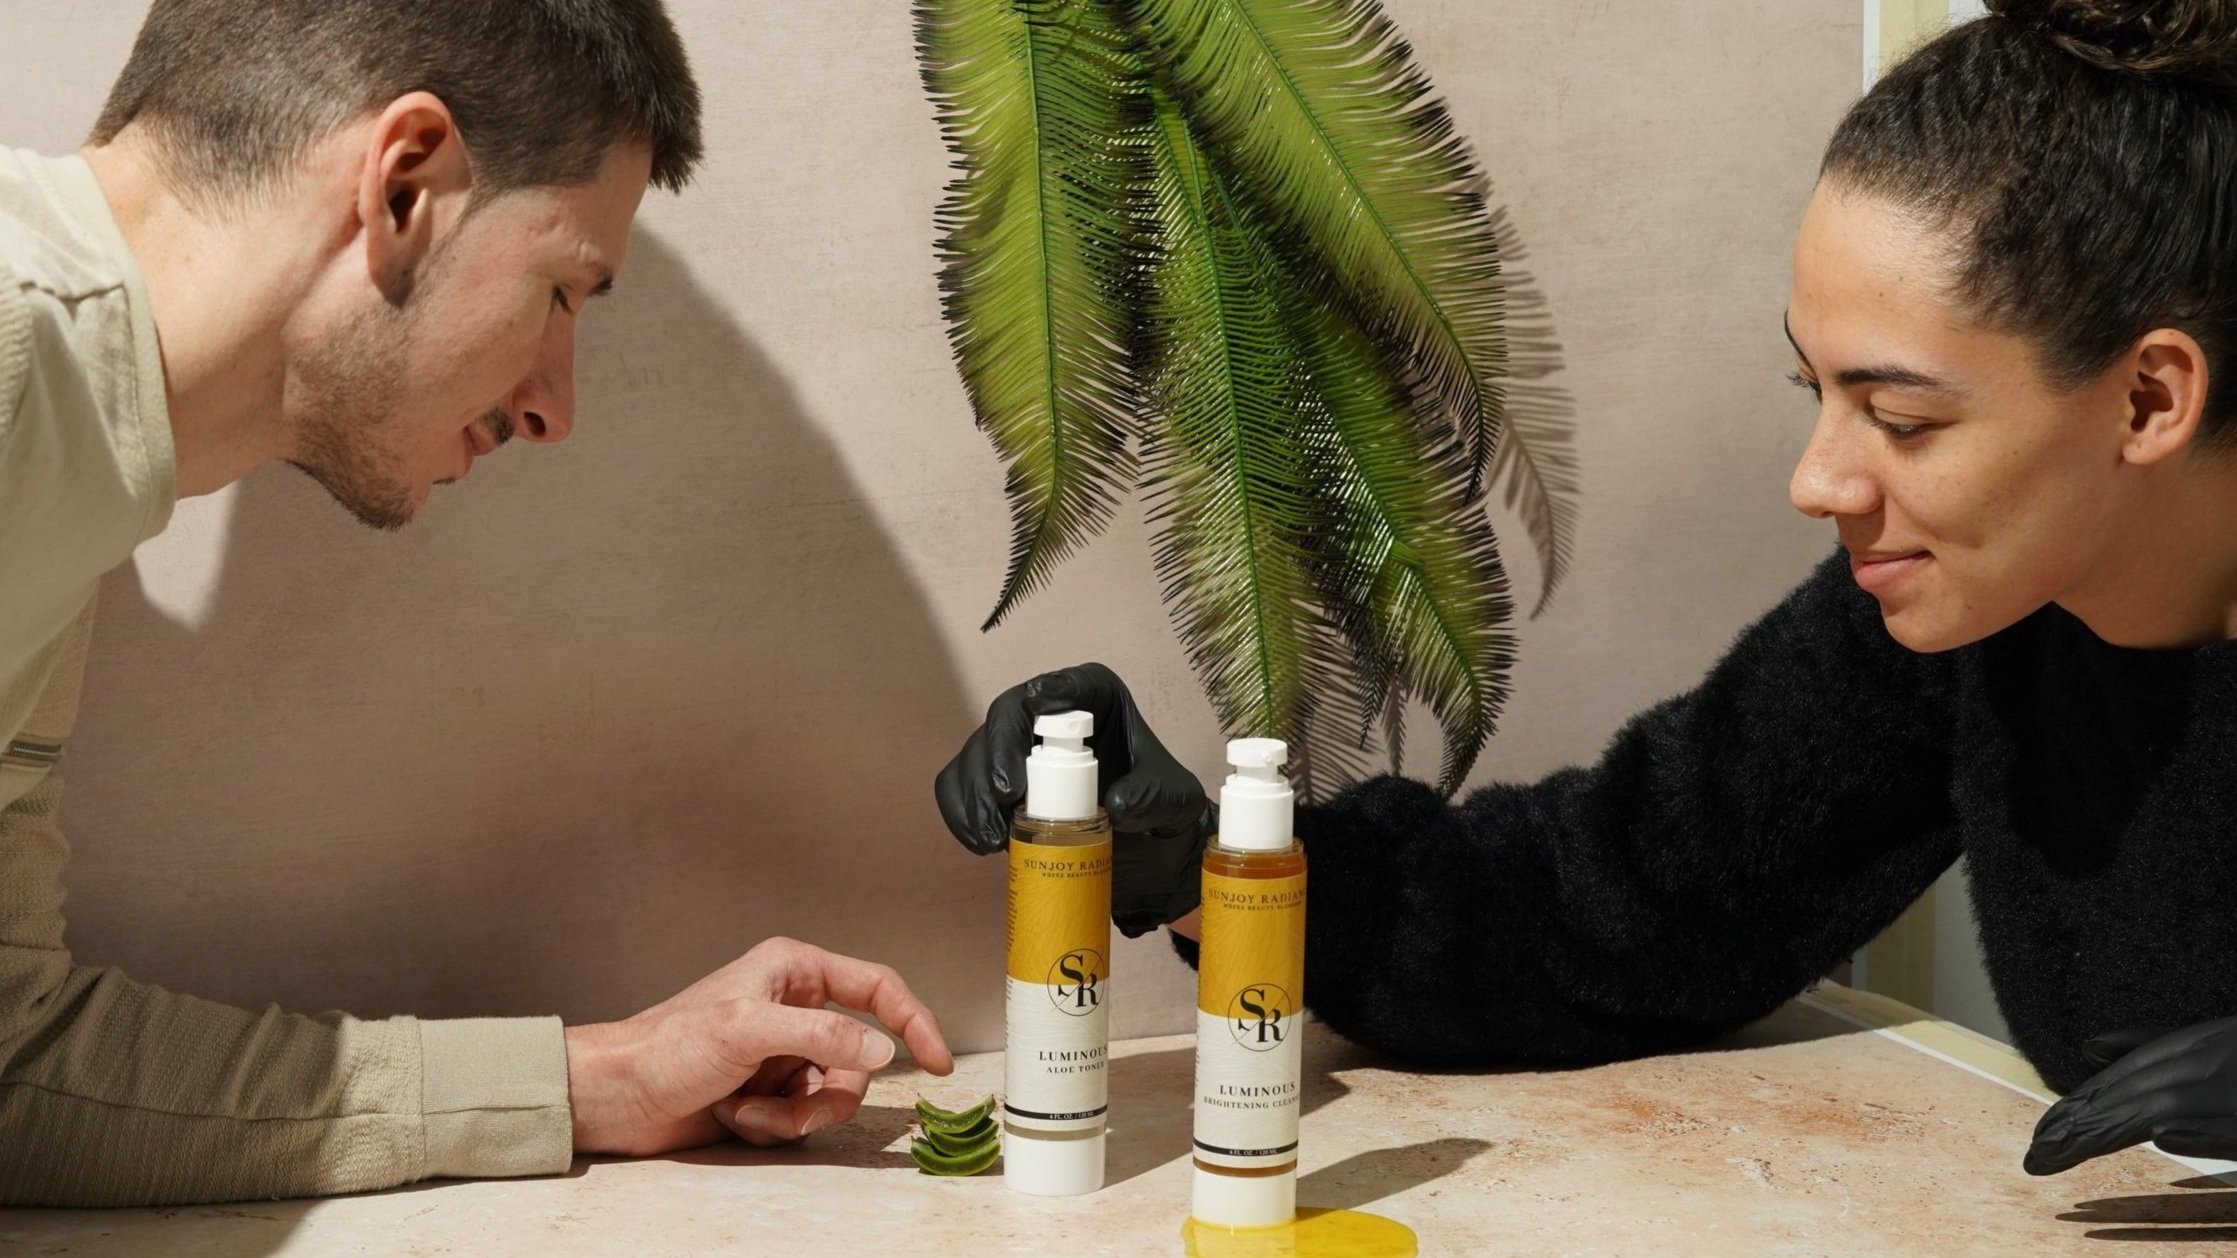
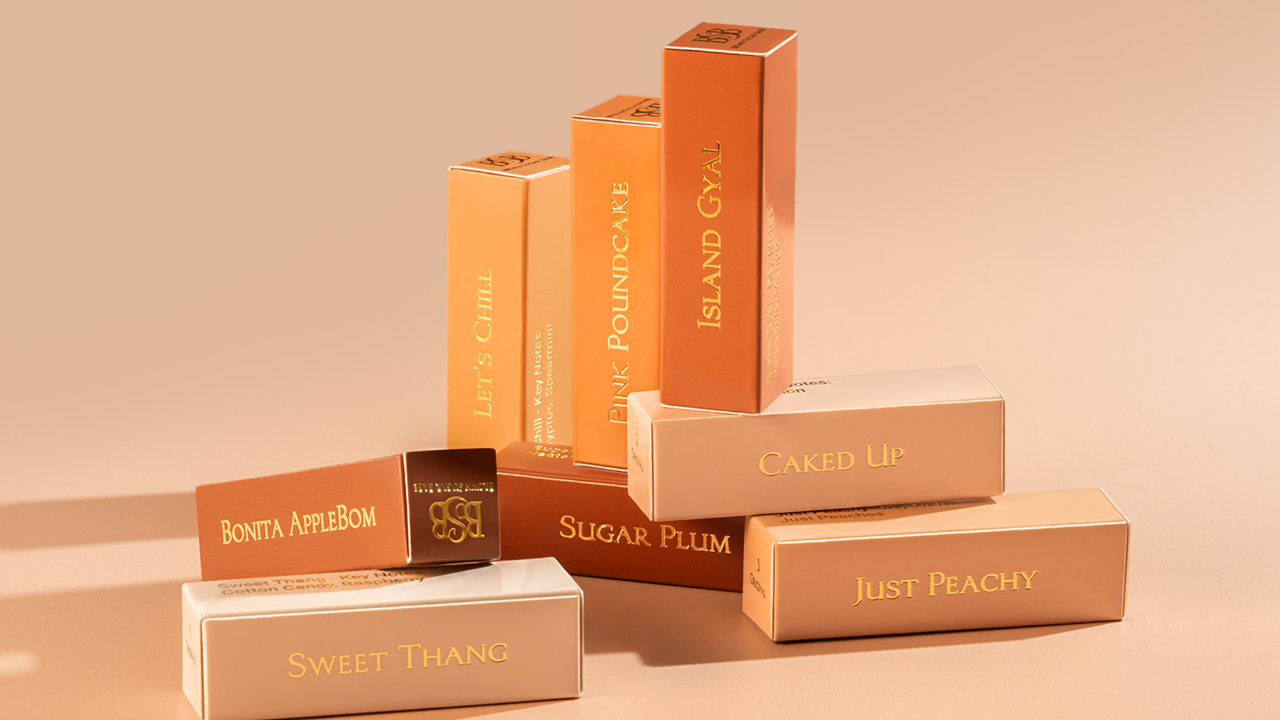
Arrange the Products: Consider the color palette. Place a product in the center and arrange the others around it. Use sticky tack to keep round or unstable products in place.
Adjust Lighting: Light your scene from the left side and place a whiteboard on the opposite side. This helps to bounce light back into your scene and eliminate shadows. This ensures all your products are evenly lit and look their best.
3. Final Shot: Playing with Shadows
For the final setup, let's get creative with lighting and shadows.
What You Need:
A table or a floor space against a wall
Matching colored paper for the floor and wall
Sticky tack and masking tape to hold everything in place
White poster board
One light source (I'm using the Godox FV150)
Related: “Best Continuous Lights for Product Photography Under $300”
Step-by-Step:
Flip the Backdrop: Secure a brick-patterned piece of paper to the wall and a plain white paper to the floor.
Secure the Products: Use sticky tack to keep products in place if they do not stay on their own.
Add Shadows: Create a small triangle cut-out in a piece of poster board. Hold it over your light to cast a bold shadow on your scene.
This technique adds depth and interest to your photos without needing extra props!
Ready to Take It to the Next Level?
Join our free 5-day product photography workshop and learn how to light, style, and edit like a pro! Perfect for beginners and seasoned content creators, who want to learn to create stunning, professional-quality photos. Click the button below to start the free workshop now! 👇🏼
More Articles
Thinking about turning your product photography side hustle into a full-time business? If you're passionate about creating stunning images, it might be time to go pro! Discover five signs that prove you’re ready to take the leap—and learn the next steps to make it happen. 🚀