Top 5 Product Photography Mistakes to Avoid
Product photography has become an essential aspect of every online business. Not only do good product photos increase the chances of customers making a purchase, but they also help build a brand's credibility and trustworthiness. As product photographers, it is essential for us to create high-quality images that showcase our clients' products in the best and most accurate way possible. However, there are a few common mistakes that many photographers make when shooting product photos that can result in lackluster images. In this article, we'll be discussing the top 5 product photography mistakes to avoid so that you can create stunning product photos that attract!

Mistake #1: Poor Lighting
One of the most common product photography mistakes is poor lighting. Whether you're shooting in natural light or using studio lighting, it's important to understand how light affects your images. Poor lighting can result in dull, unappealing photos that fail to highlight your product's unique features. To avoid this mistake, make sure you have adequate lighting that is intentionally placed to reflect the mood you are trying to emulate. The video at the end of this article will go into more detail about how to understand and use studio lighting in different scenarios.
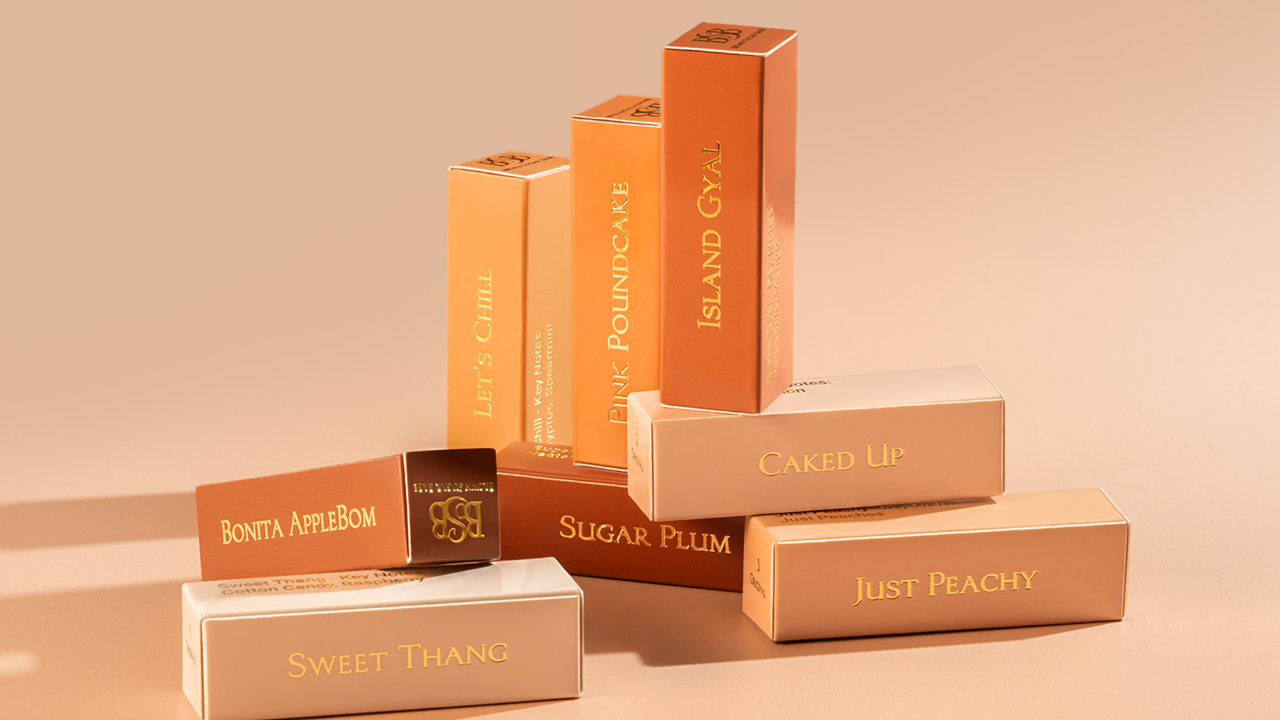
Mistake #2: Not Choosing the Right Background
Choosing the right background for your product photos is essential. A noisy background can distract from your product and the wrong color choice can make the product feel cheap. Opting for a neutral color pallet is easiest on the eyes and makes for a great base to style. Remember that less is often more, and while it may be tempting to add more props or elements to the shot, it's crucial to keep the product as the main focal point at all times. By utilizing these tips, you can ensure that your product photos are eye-catching and professional, while effectively showcasing the product to potential customers.

Mistake #3: Not Using the Right Camera Settings
Another common mistake that many photographers make is not using the right camera settings. It's important to understand how aperture, shutter speed, and ISO affect your images. Using the wrong settings can result in photos that are too dark, too bright, or blurry. Take the time to learn how to use your camera properly to avoid this mistake.
What is Aperture?
To sum it up, the aperture affects lighting and depth of field and is commonly referred to as the f-stop. The larger the f-stop, the sharper your scene will be resulting in more of it being in focus. This also causes a reduction in light. Alternatively, the smaller your f-stop, the more blurred, and less focused, your scene will be compared to your subject. resulting in a brighter image. To be more specific, aperture refers to the opening or hole within a camera lens that controls the amount of light that enters the camera. The f-stop indicates the size of the opening relative to the focal length of the lens.
What is Shutter Speed?
Shutter speed refers to the length of time that the camera's shutter remains open when taking a photograph. If you are wanting to capture motion such as a water splash, you would increase your camera's shutter speed however, it will result in a darker image. In this case, having powerful studio lights becomes essential to compensate for the reduced light. On the other hand, if you want to brighten up your scene, lowering the shutter speed can increase the amount of light entering the camera. However, we advise against lowering the shutter speed below 1/125 without a tripod, as any slight movement can lead to a loss of image quality. Understanding the relationship between shutter speed and lighting is key to producing high-quality photographs that capture your desired creative vision.
What is ISO?
ISO is the sensitivity of your camera's sensor to light. The higher the ISO number, the more sensitive the sensor is to light, and the brighter the resulting image will be. Conversely, a lower ISO number will make the sensor less sensitive to light, resulting in a darker image.
The video below will help you get a better understanding of how to use aperture, shutter speed, ISO, and standard photography equipment together to maximize your product photography image quality.
Mistake #4: Not Paying Attention to Details
When it comes to product photography, it's the details that matter. Small imperfections, such as fingerprints or dust, can ruin an otherwise beautiful photo. You should start every shoot by cleaning your lens and camera with a lens cleaning kit to remove any unwanted debris that may have gotten trapped in your equipment. Next wear latex gloves when styling to avoid unwanted fingerprints and finally, use a microfiber cloth to remove any unwanted dust from your scene. The trick is to be tidy on set so that you don't have to make up for it later when editing.
Mistake #5: Depending On Editing Software To Fix Mistakes
Editing software, such as Adobe Photoshop, can certainly help improve the look of your product photos, but it's not a magic solution! It's important to try to get the best possible shot in camera and then use editing software to enhance it. If you rely too much on editing, you run the risk of your images looking unrealistic and overprocessed.
Conclusion
In conclusion, product photography is an essential aspect of every online business, and avoiding common mistakes is key to creating stunning product photos that attract customers. By paying attention to lighting, choosing the right background, utilizing proper camera settings, minding details, and not relying on editing, you can easily create high-quality imagery. With some practice and experimentation, everything will become second nature in no time!
FAQ
1. Why is good product photography important for online businesses?
Good product photography is important for online businesses because it helps showcase their products in a way that accurately represents them to their customers. This can increase the chances of customers making a purchase, as well as build a brand's credibility and trustworthiness.
2. What type of lighting is best for product photography?
Download our FREE equipment guide to discover the exact studio lights we use in our business
3. How can I make my product photos stand out?
To make your product photos stand out, choose a background that complements your product, pay attention to details, and use props and styling that enhance the product's appeal. Additionally, make sure you're using high-quality equipment and that your camera settings are properly adjusted.
4. Do I need to hire a professional photographer for my product photos?
While hiring a professional photographer can certainly help you achieve stunning product photos, it's not always necessary. With some basic knowledge and equipment, you can create beautiful product photos on your own. However, if you're struggling to get the results you want, it may be worth considering hiring a professional like Mainstream Multi-Media.